ACES OF AGES #01 / FREE ENGINE MODEL

Red Baron’s Engine — Free 1:12 Oberursel Ur.II on a Stand

The rotary that pulled 425/17 — and it spins.

The 9-cylinder Oberursel Ur.II of Richthofen’s Fokker Dr.I with its Axial propeller, as a 1:12 desk model on a stand with a museum plaque. As in the real rotary, the crankshaft stands still and the whole engine turns with the propeller. Snap-fit, no glue, fits a Bambu A1 mini. Free on MakerWorld.

Free · printed and assembled · files on MakerWorld

Free · STL files, ready Bambu Studio plates and the illustrated assembly guide for both versions are on Bibizoza’s MakerWorld page.

Get it free on MakerWorld
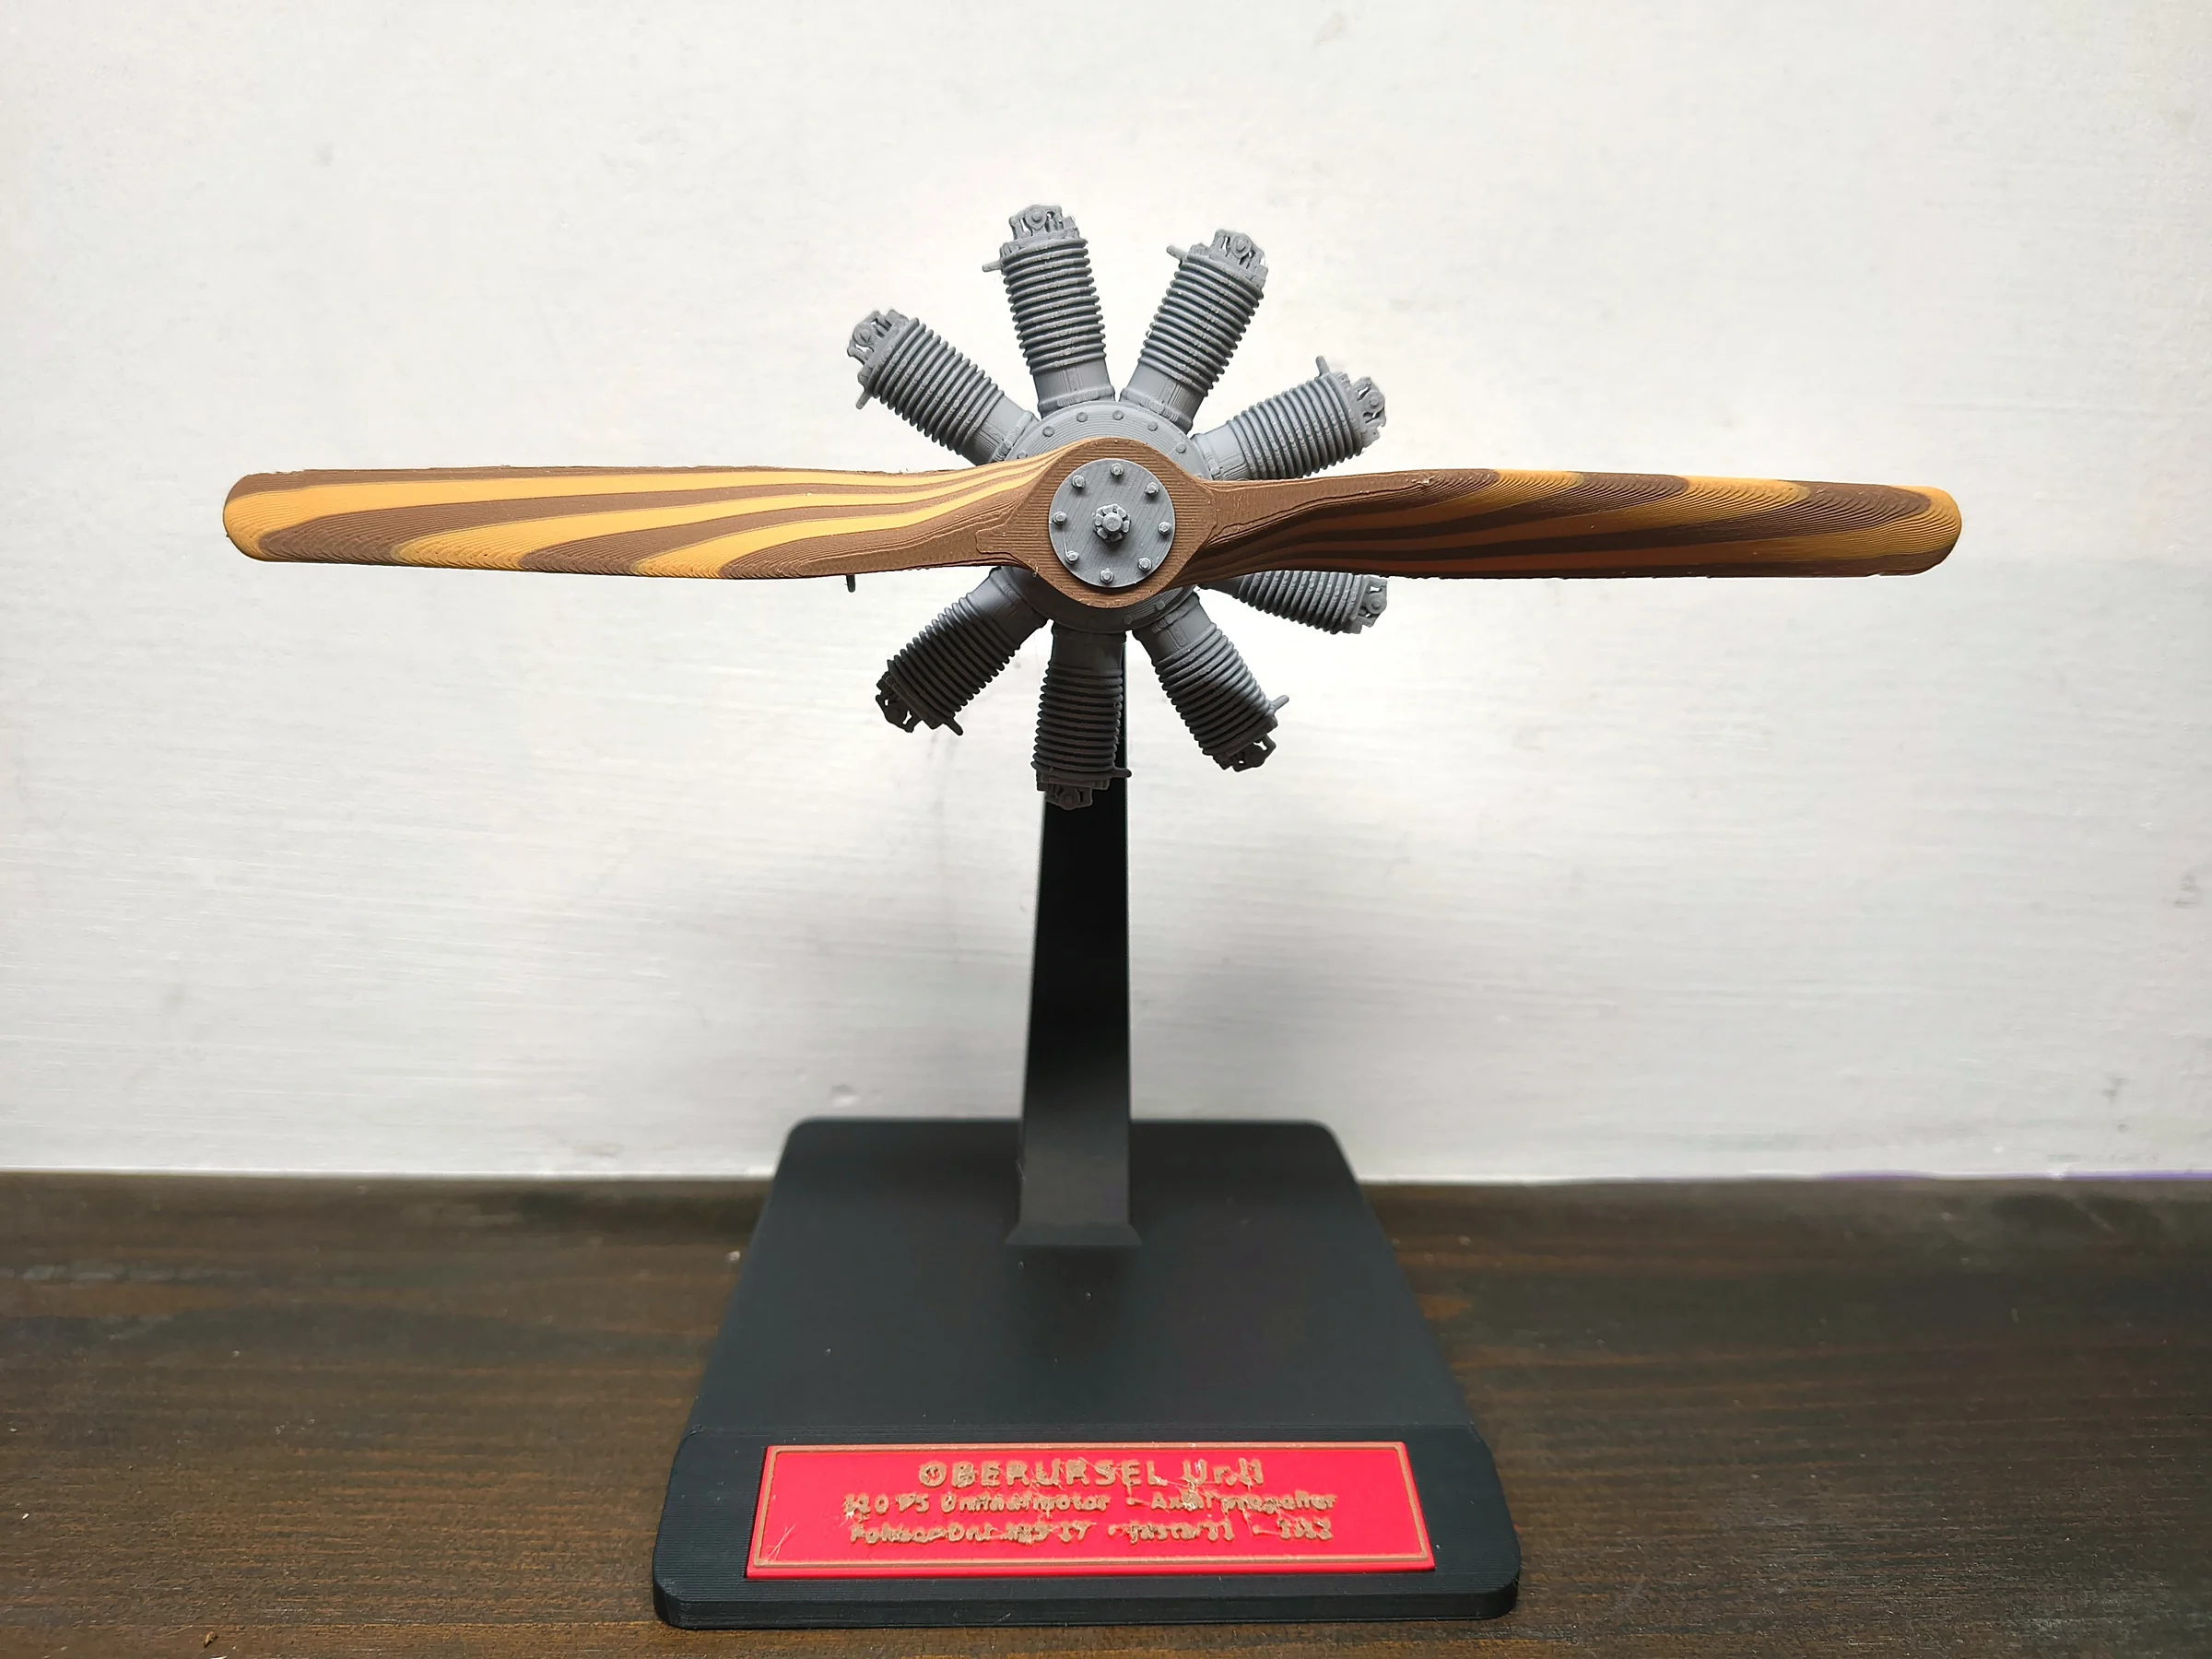
Printed 1:12 Oberursel Ur.II rotary engine with its laminated Axial propeller on a black stand with a red museum plaque — photograph

Specifications

Scale
1:12
Size
132 × 218 × 243 mm (depth × width × height)
Print bed
180 × 180 mm (Bambu A1 mini) or larger
Parts
18 (MUSEUM) · 20 (FLIGHT)
Oberursel Ur.II + Axial propeller · free engine model 1:12 specifications — full list
PropellerØ 218 mm, 7 laminations in two browns
Plates4 per version, with an AMS or one colour per plate
Colours5 matte PLA — one AMS with 4 slots and one spool swap
Filamentabout 110 g
Print timeabout 10 h 20 min (AMS) · 10 h 10 min (no AMS), MUSEUM version
Supportsonly the propeller (tree supports, already set in the 3MF)
Glue and toolsnone — snap-fit with hex keys and D-shafts
Moving partengine and propeller turn by hand on the fixed crankshaft
PRINTED

The printed model

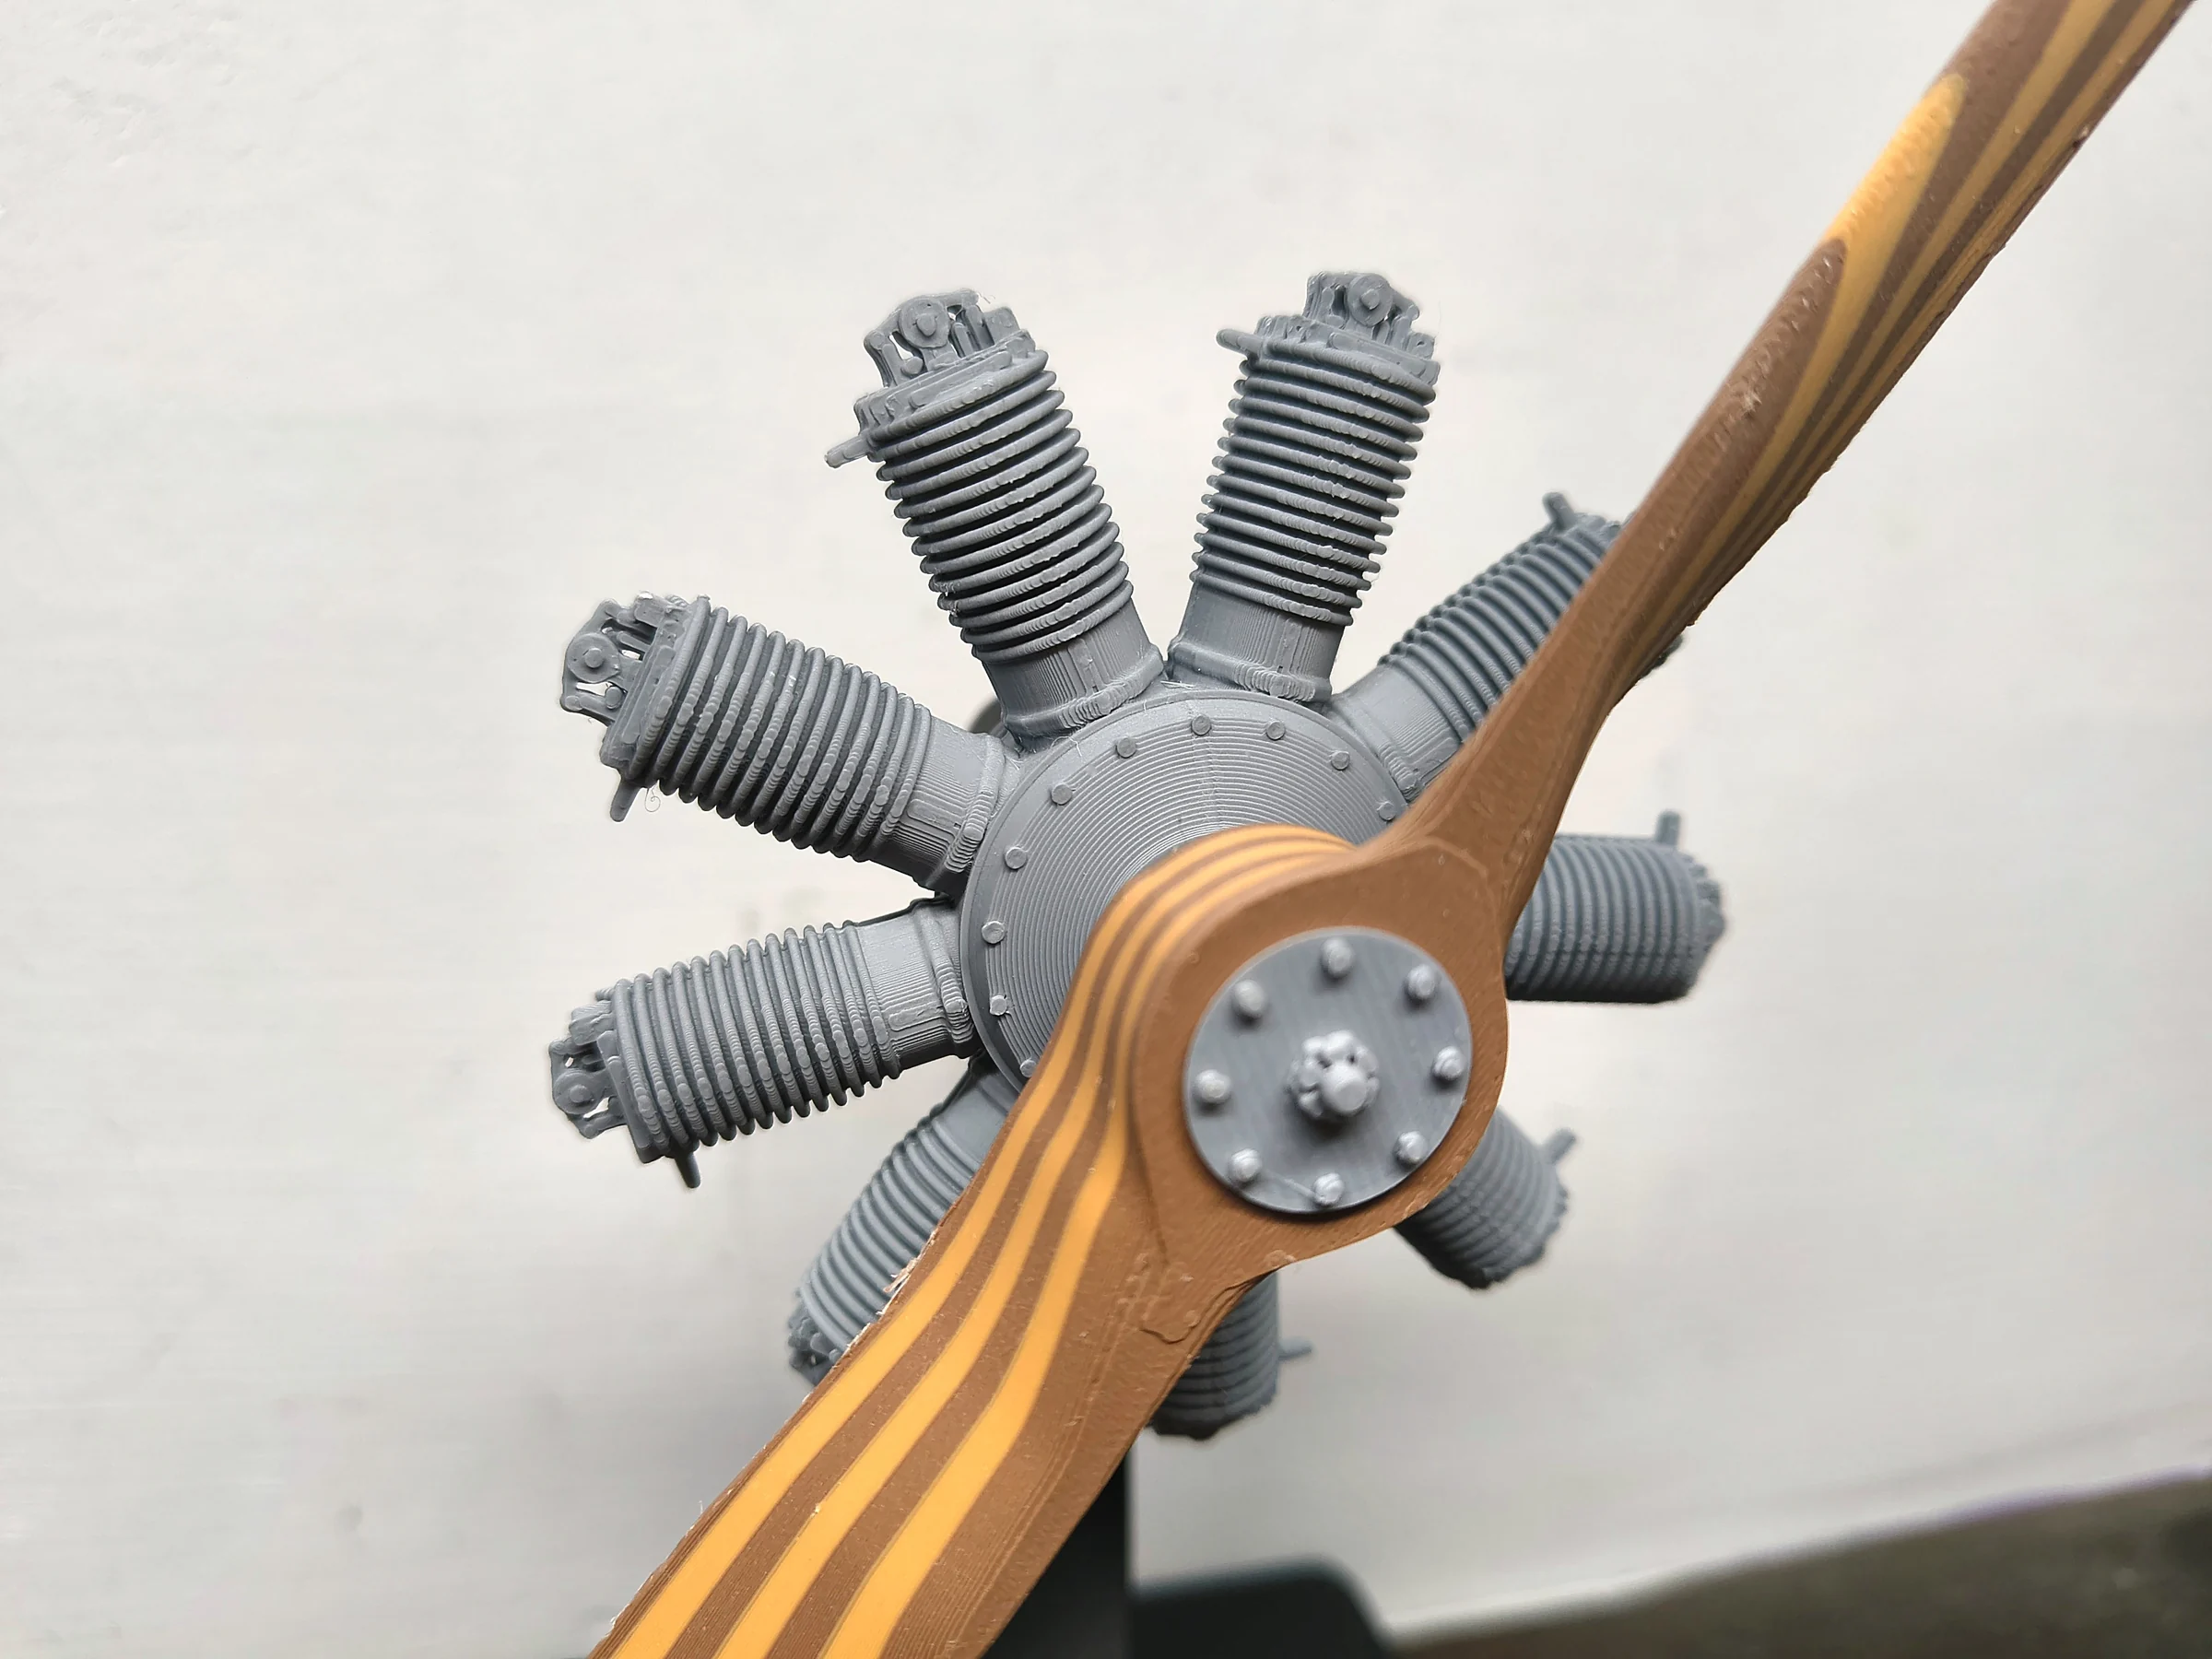
The MUSEUM version printed on a Bambu Lab A1 mini with one AMS, assembled without glue: matte Ash Gray engine, Charcoal stand, Dark Red plaque and a propeller laminated in Dark Chocolate and Caramel.

Printed 1:12 Oberursel Ur.II rotary engine with its laminated Axial propeller on a black stand with a red museum plaque — photograph
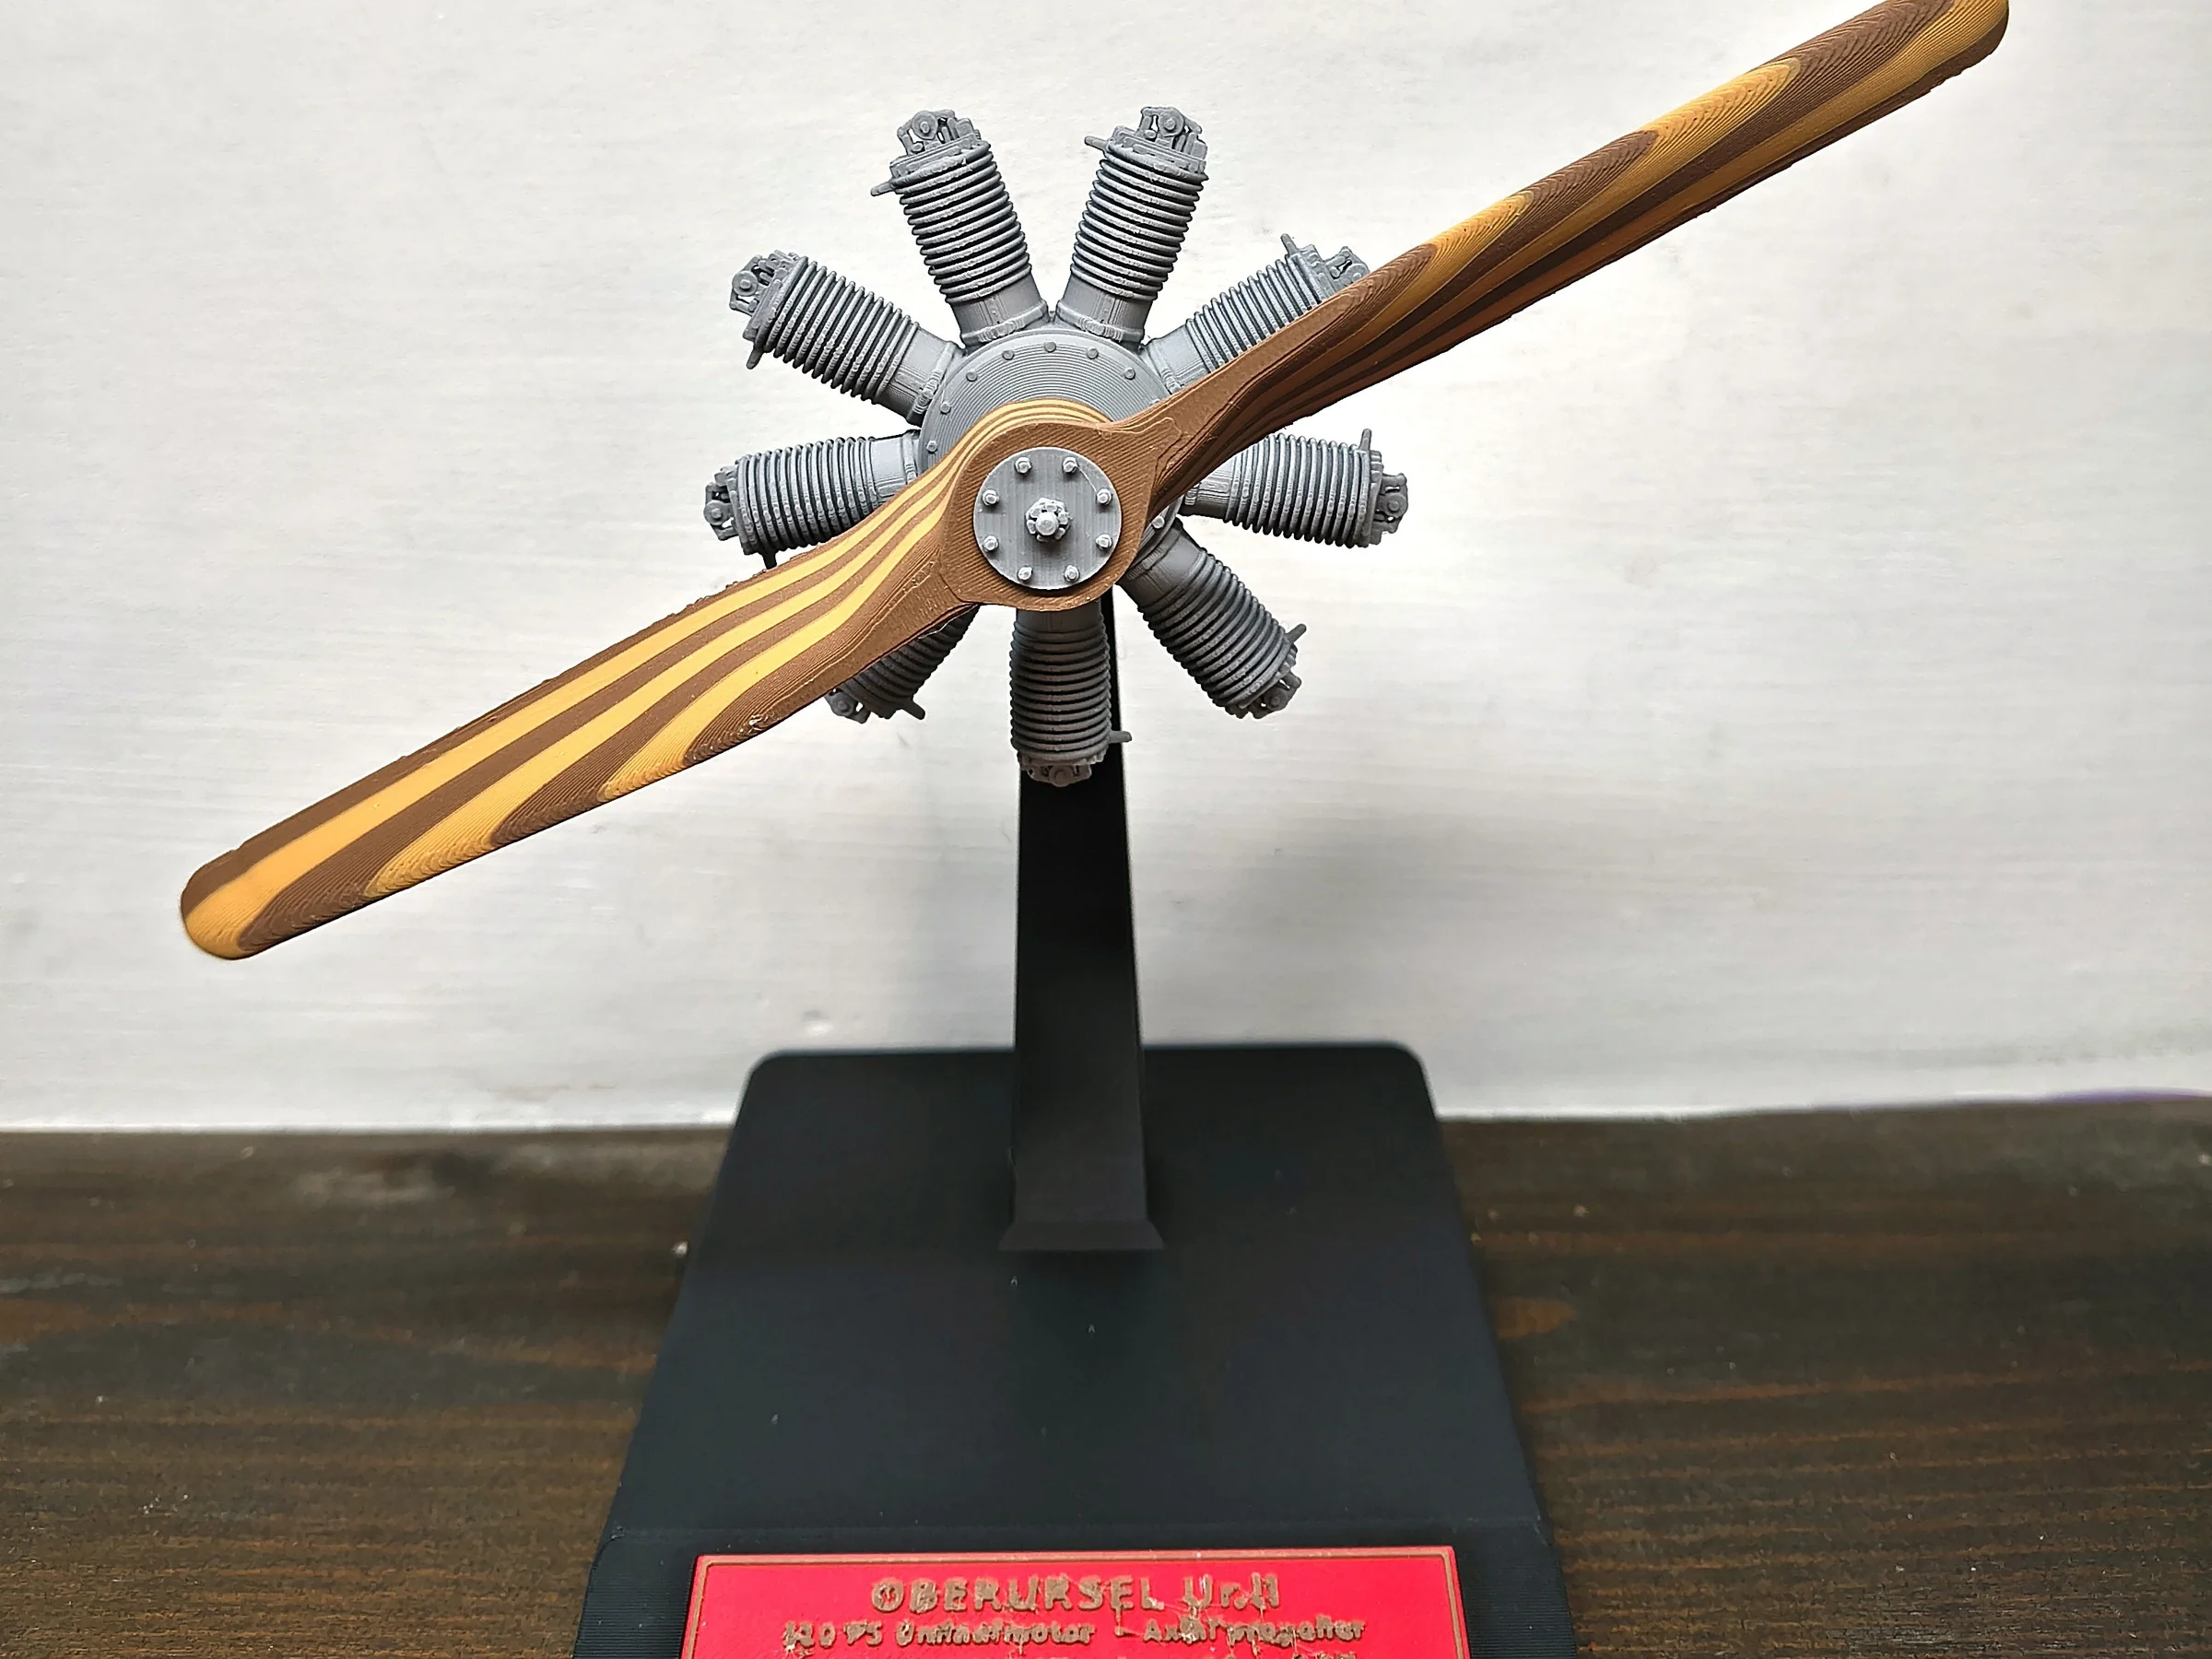
Printed Oberursel Ur.II 1:12 on its stand from a three-quarter angle, propeller turned diagonally — photograph
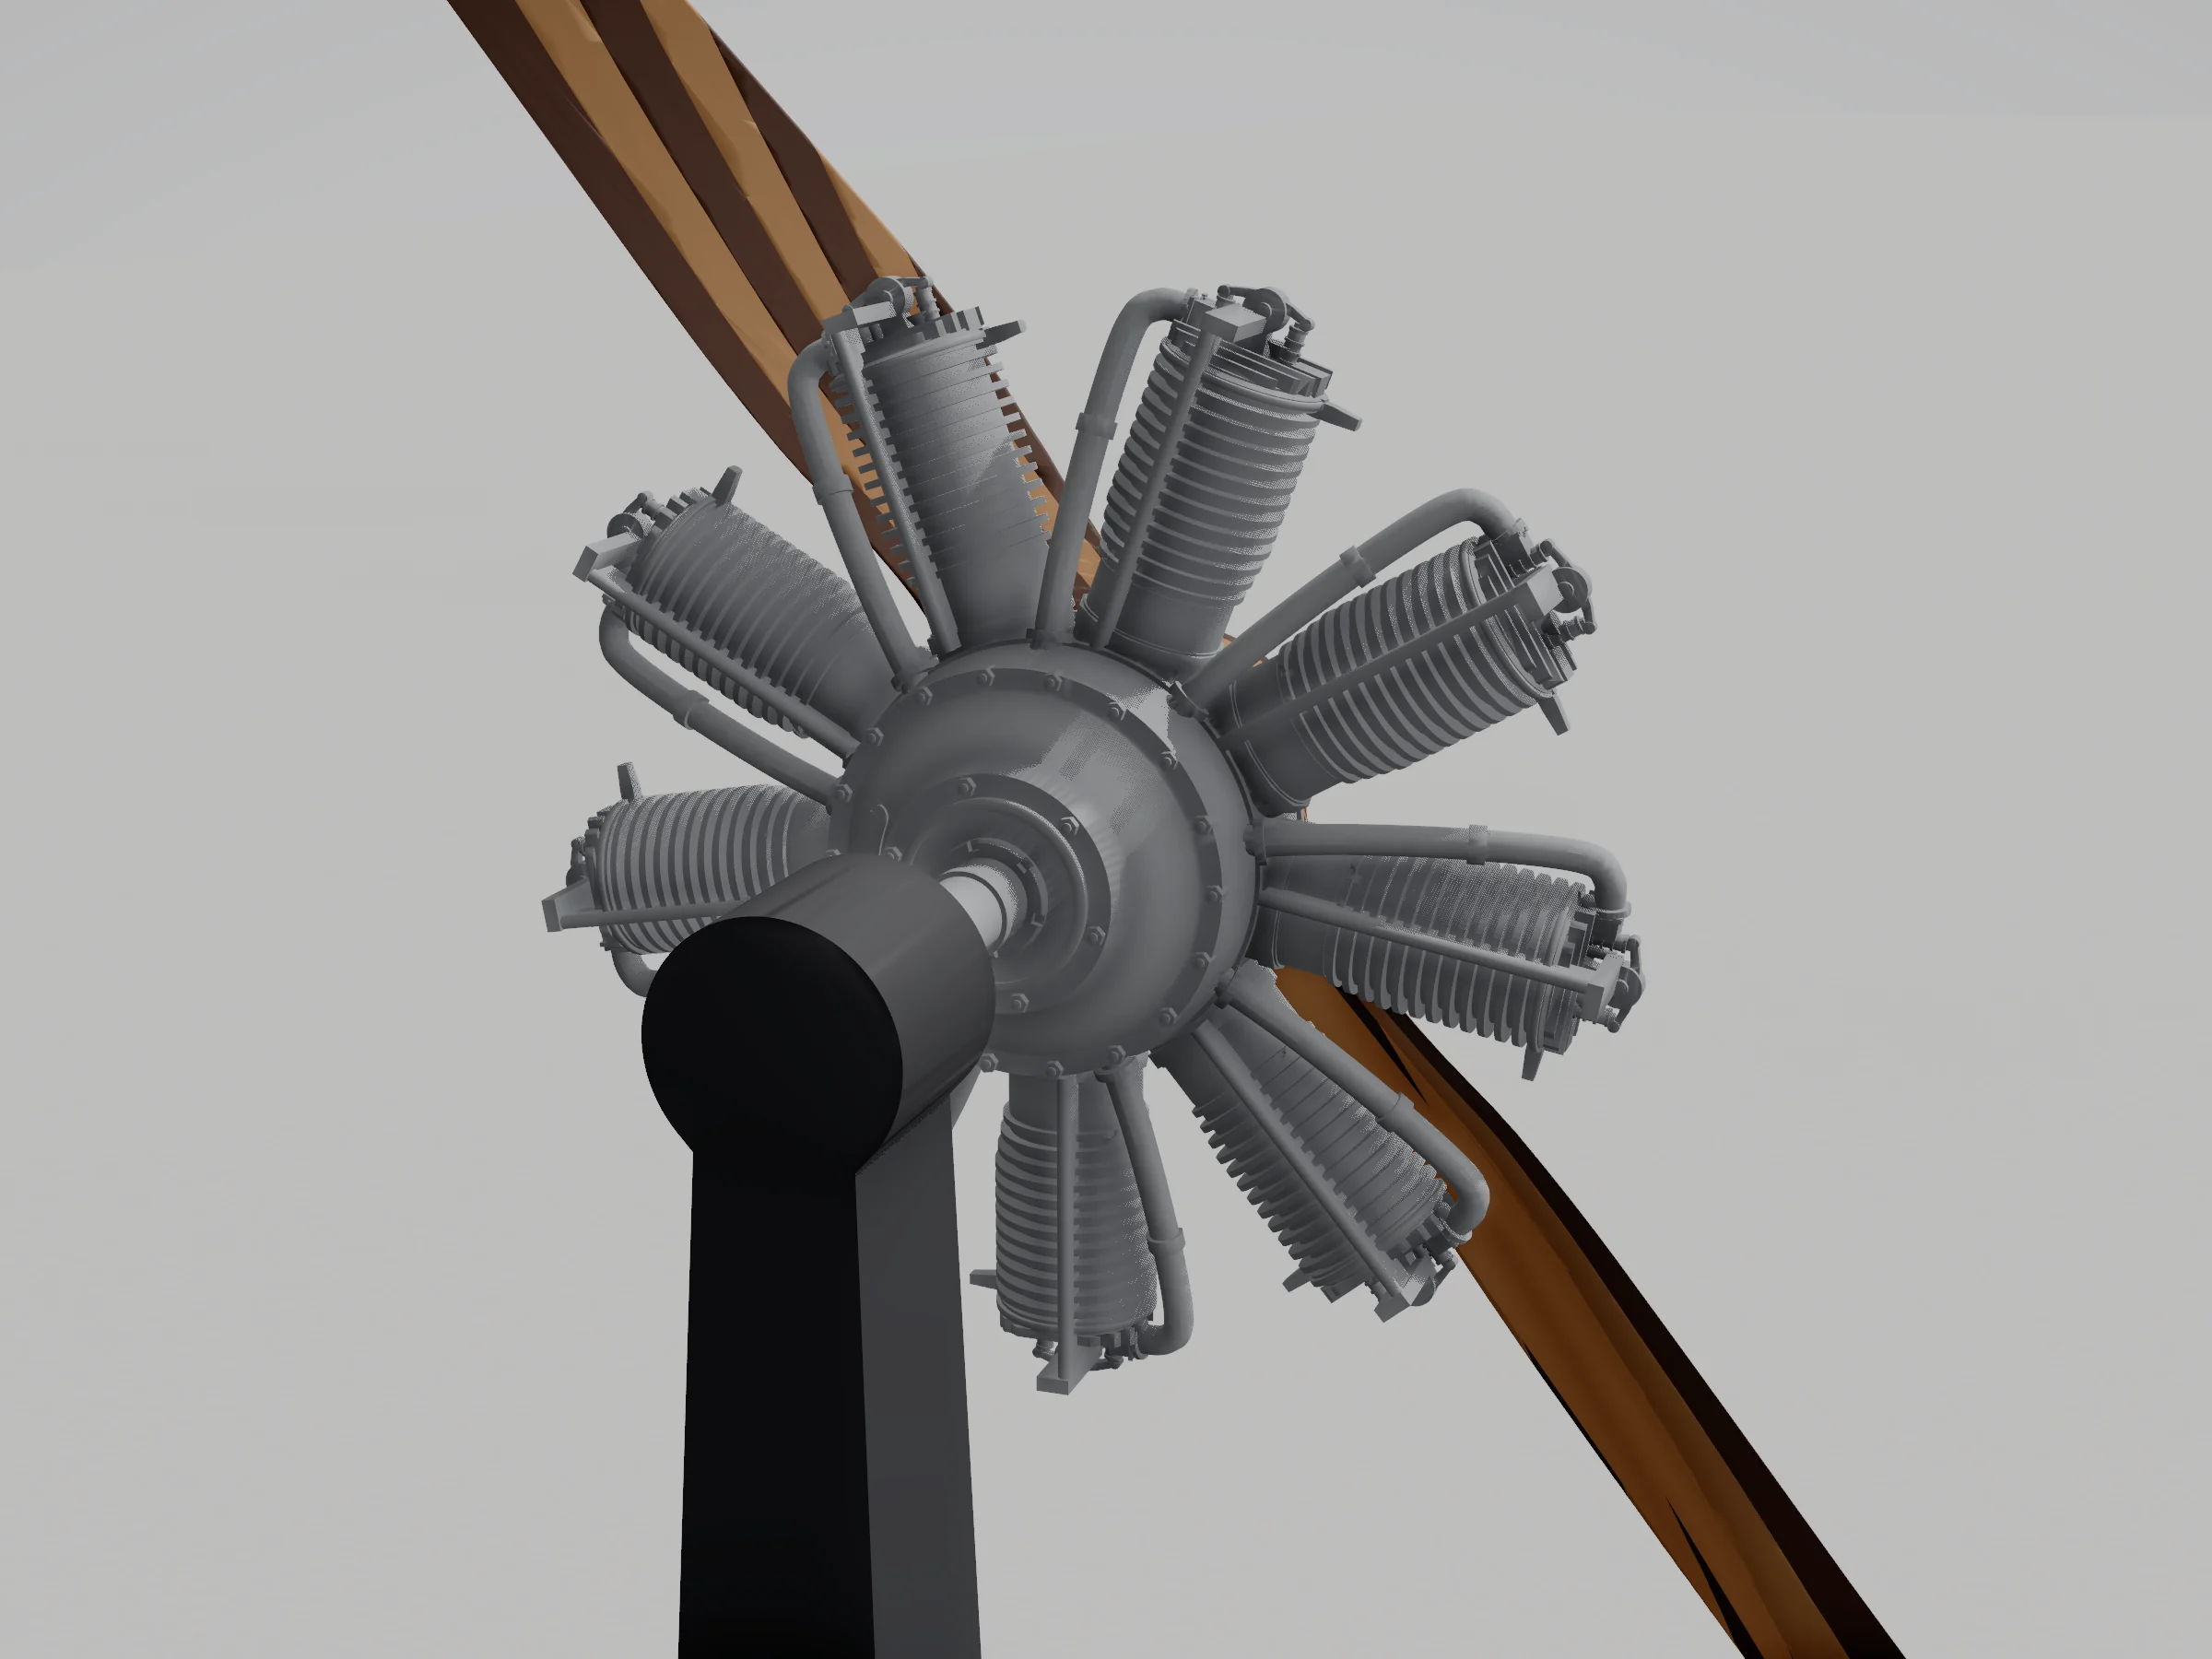
Close-up of the printed cylinders, fins, rivets and the propeller hub of the 1:12 engine — photograph
FILM

Printed, assembled, spinning

RENDER
Photographs of the printed model, then the kit itself: the four printer plates, the eleven assembly steps from the plates to the stand, and a slow spin. Rendered from the kit’s own print meshes.

Explore the engine in 3D

Rotate, zoom and look at the finished back of the 1:12 Oberursel Ur.II.

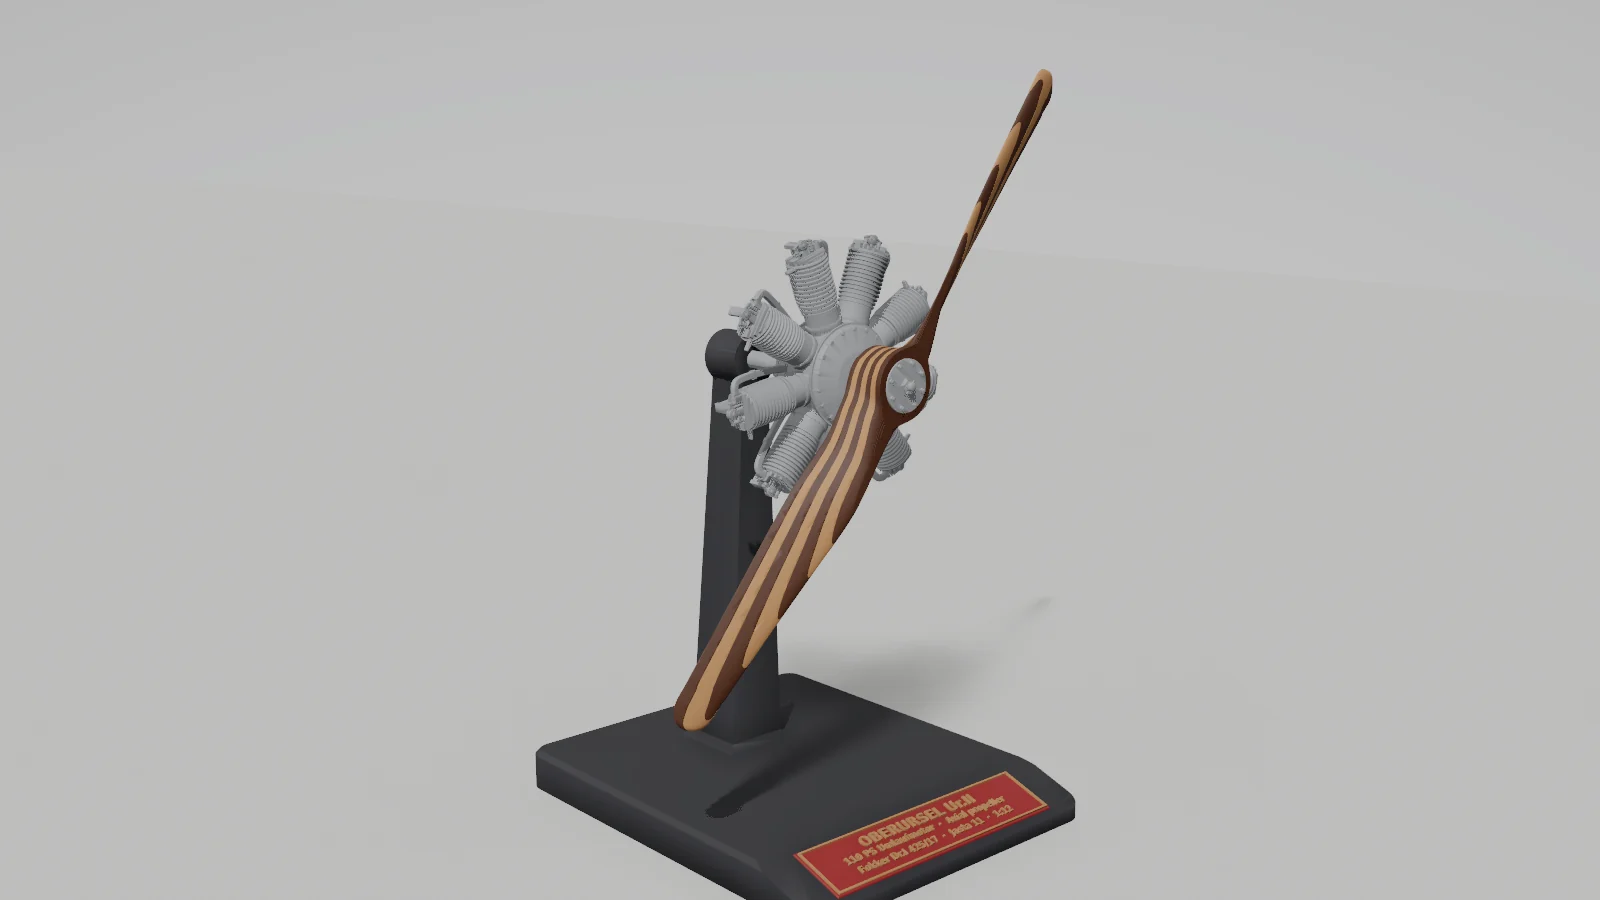
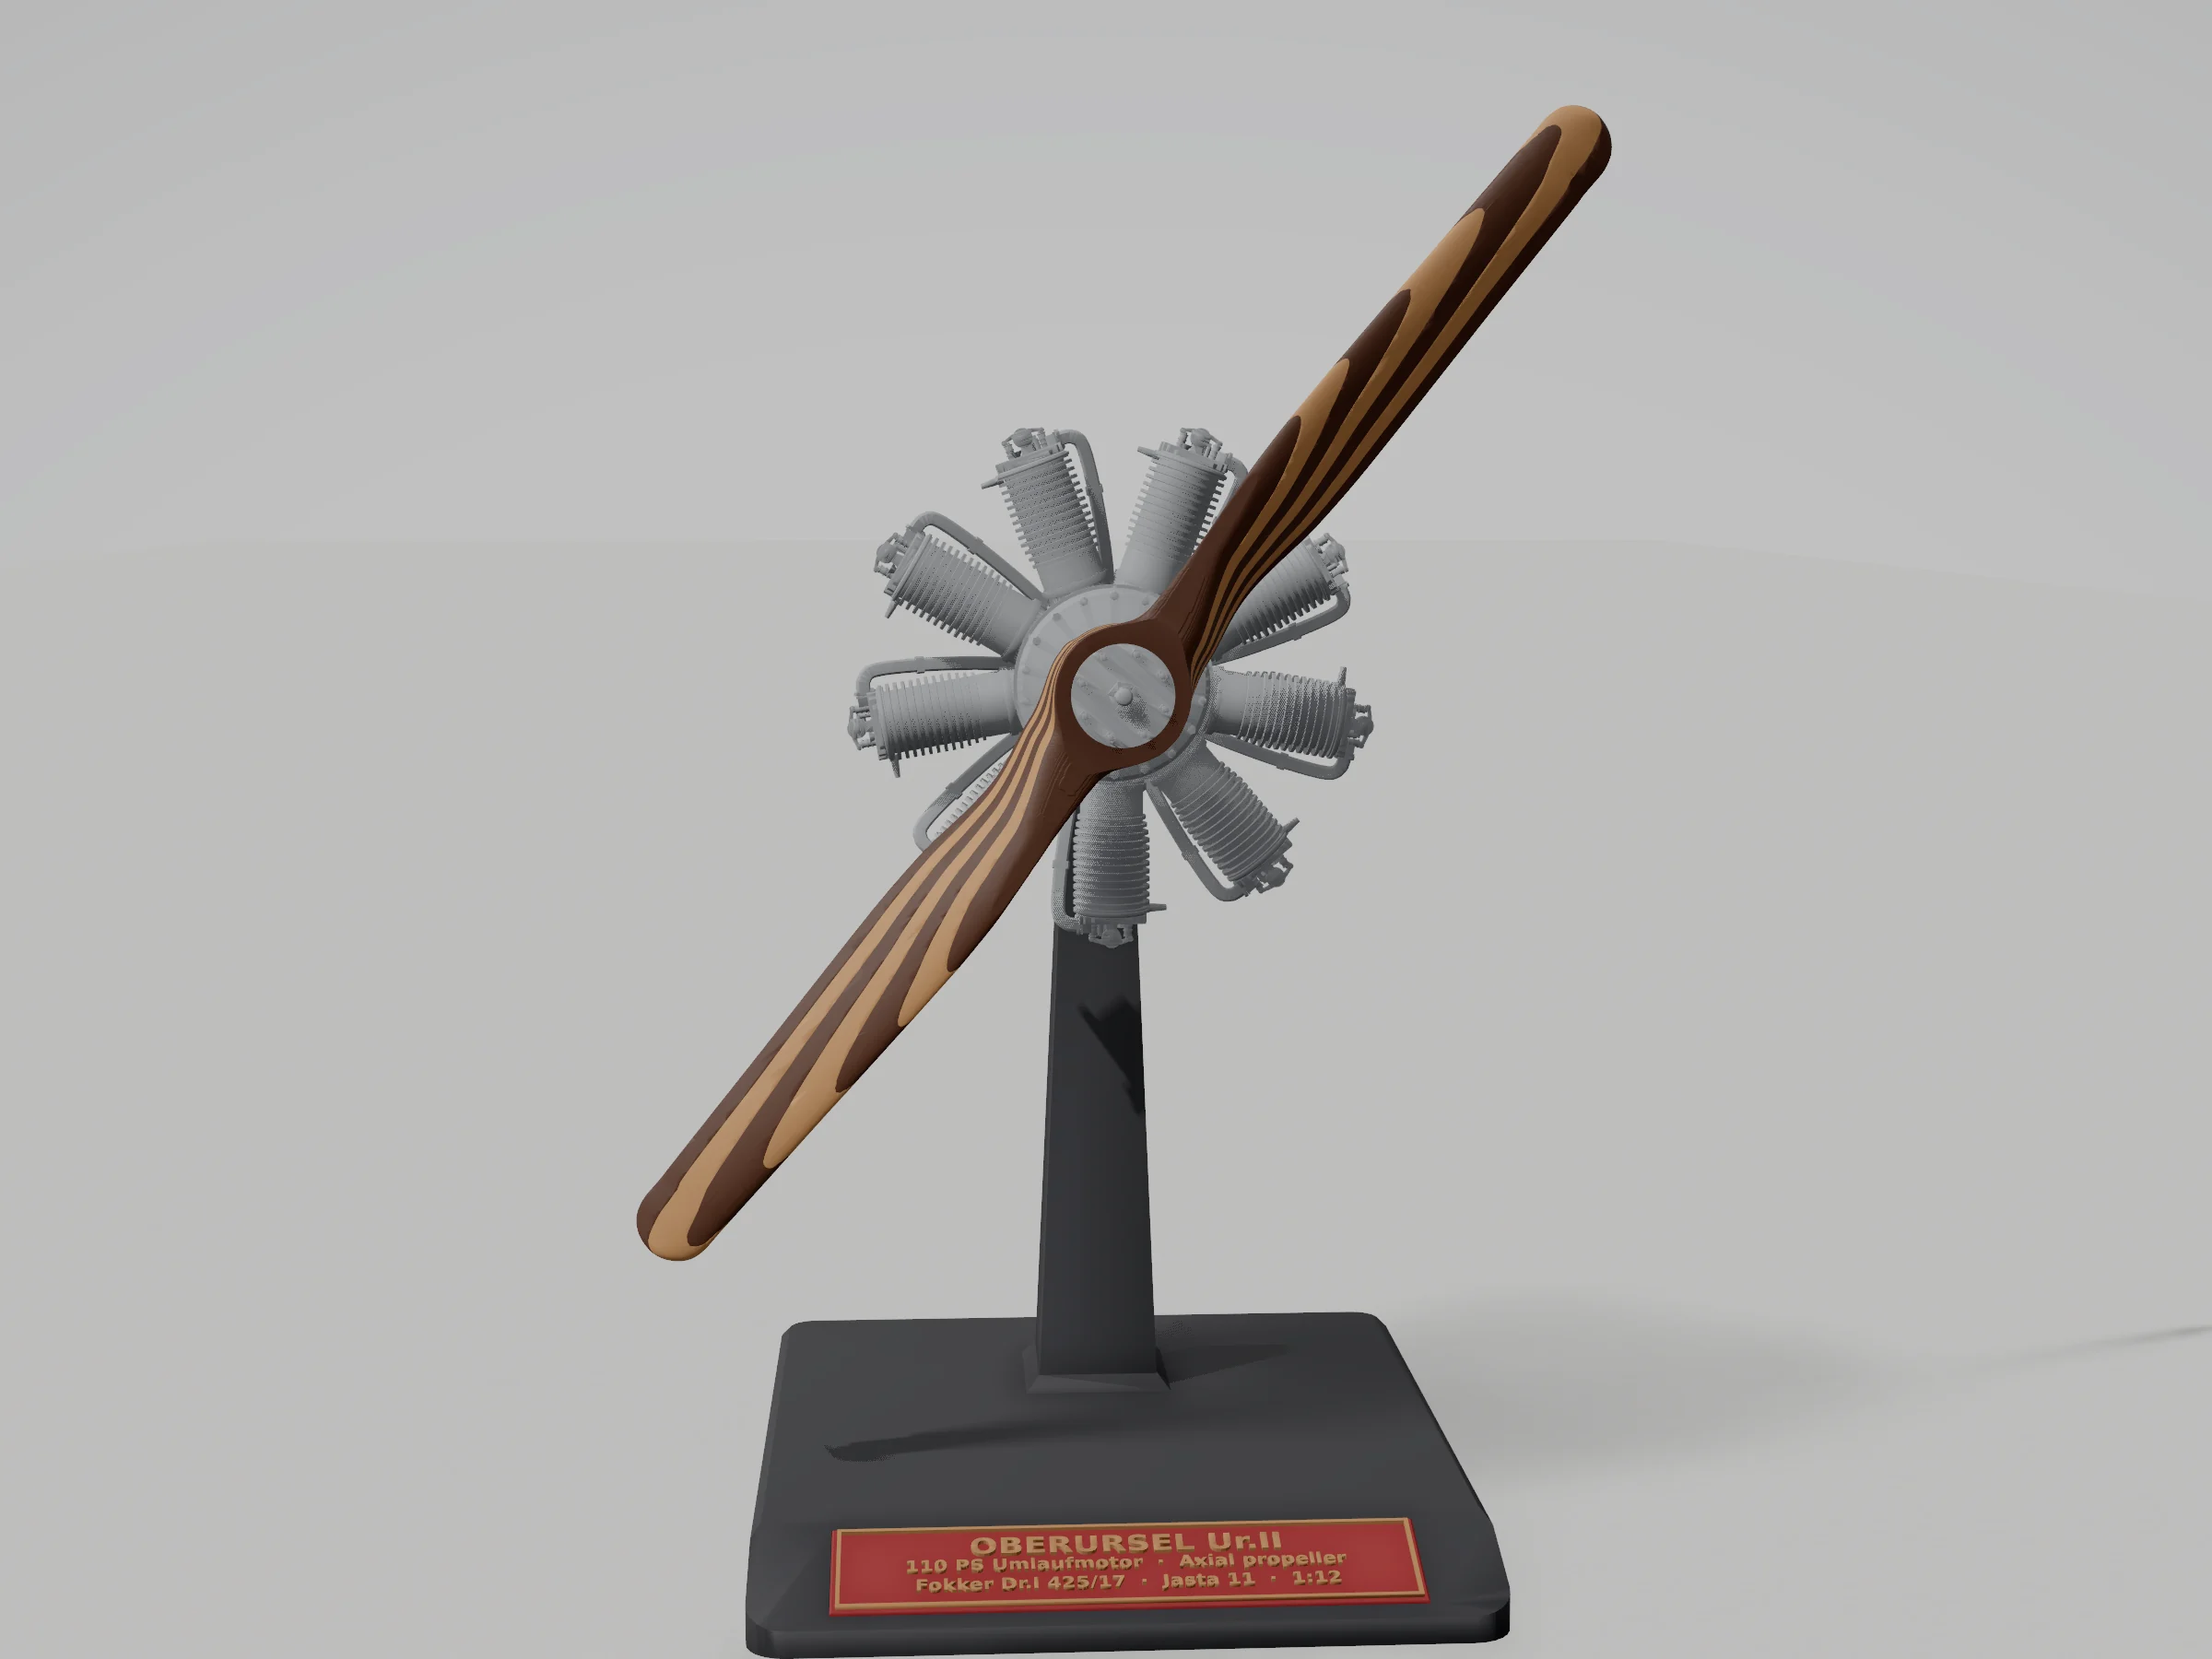
Oberursel Ur.II and Axial propeller 1:12 on its stand, three-quarter view — Bibizoza render

Interactive 3D model of the free 1:12 Oberursel Ur.II rotary engine and Axial propeller on its stand. Use the view controls to inspect it. Photographs, renders and the specification are below.

RENDERS

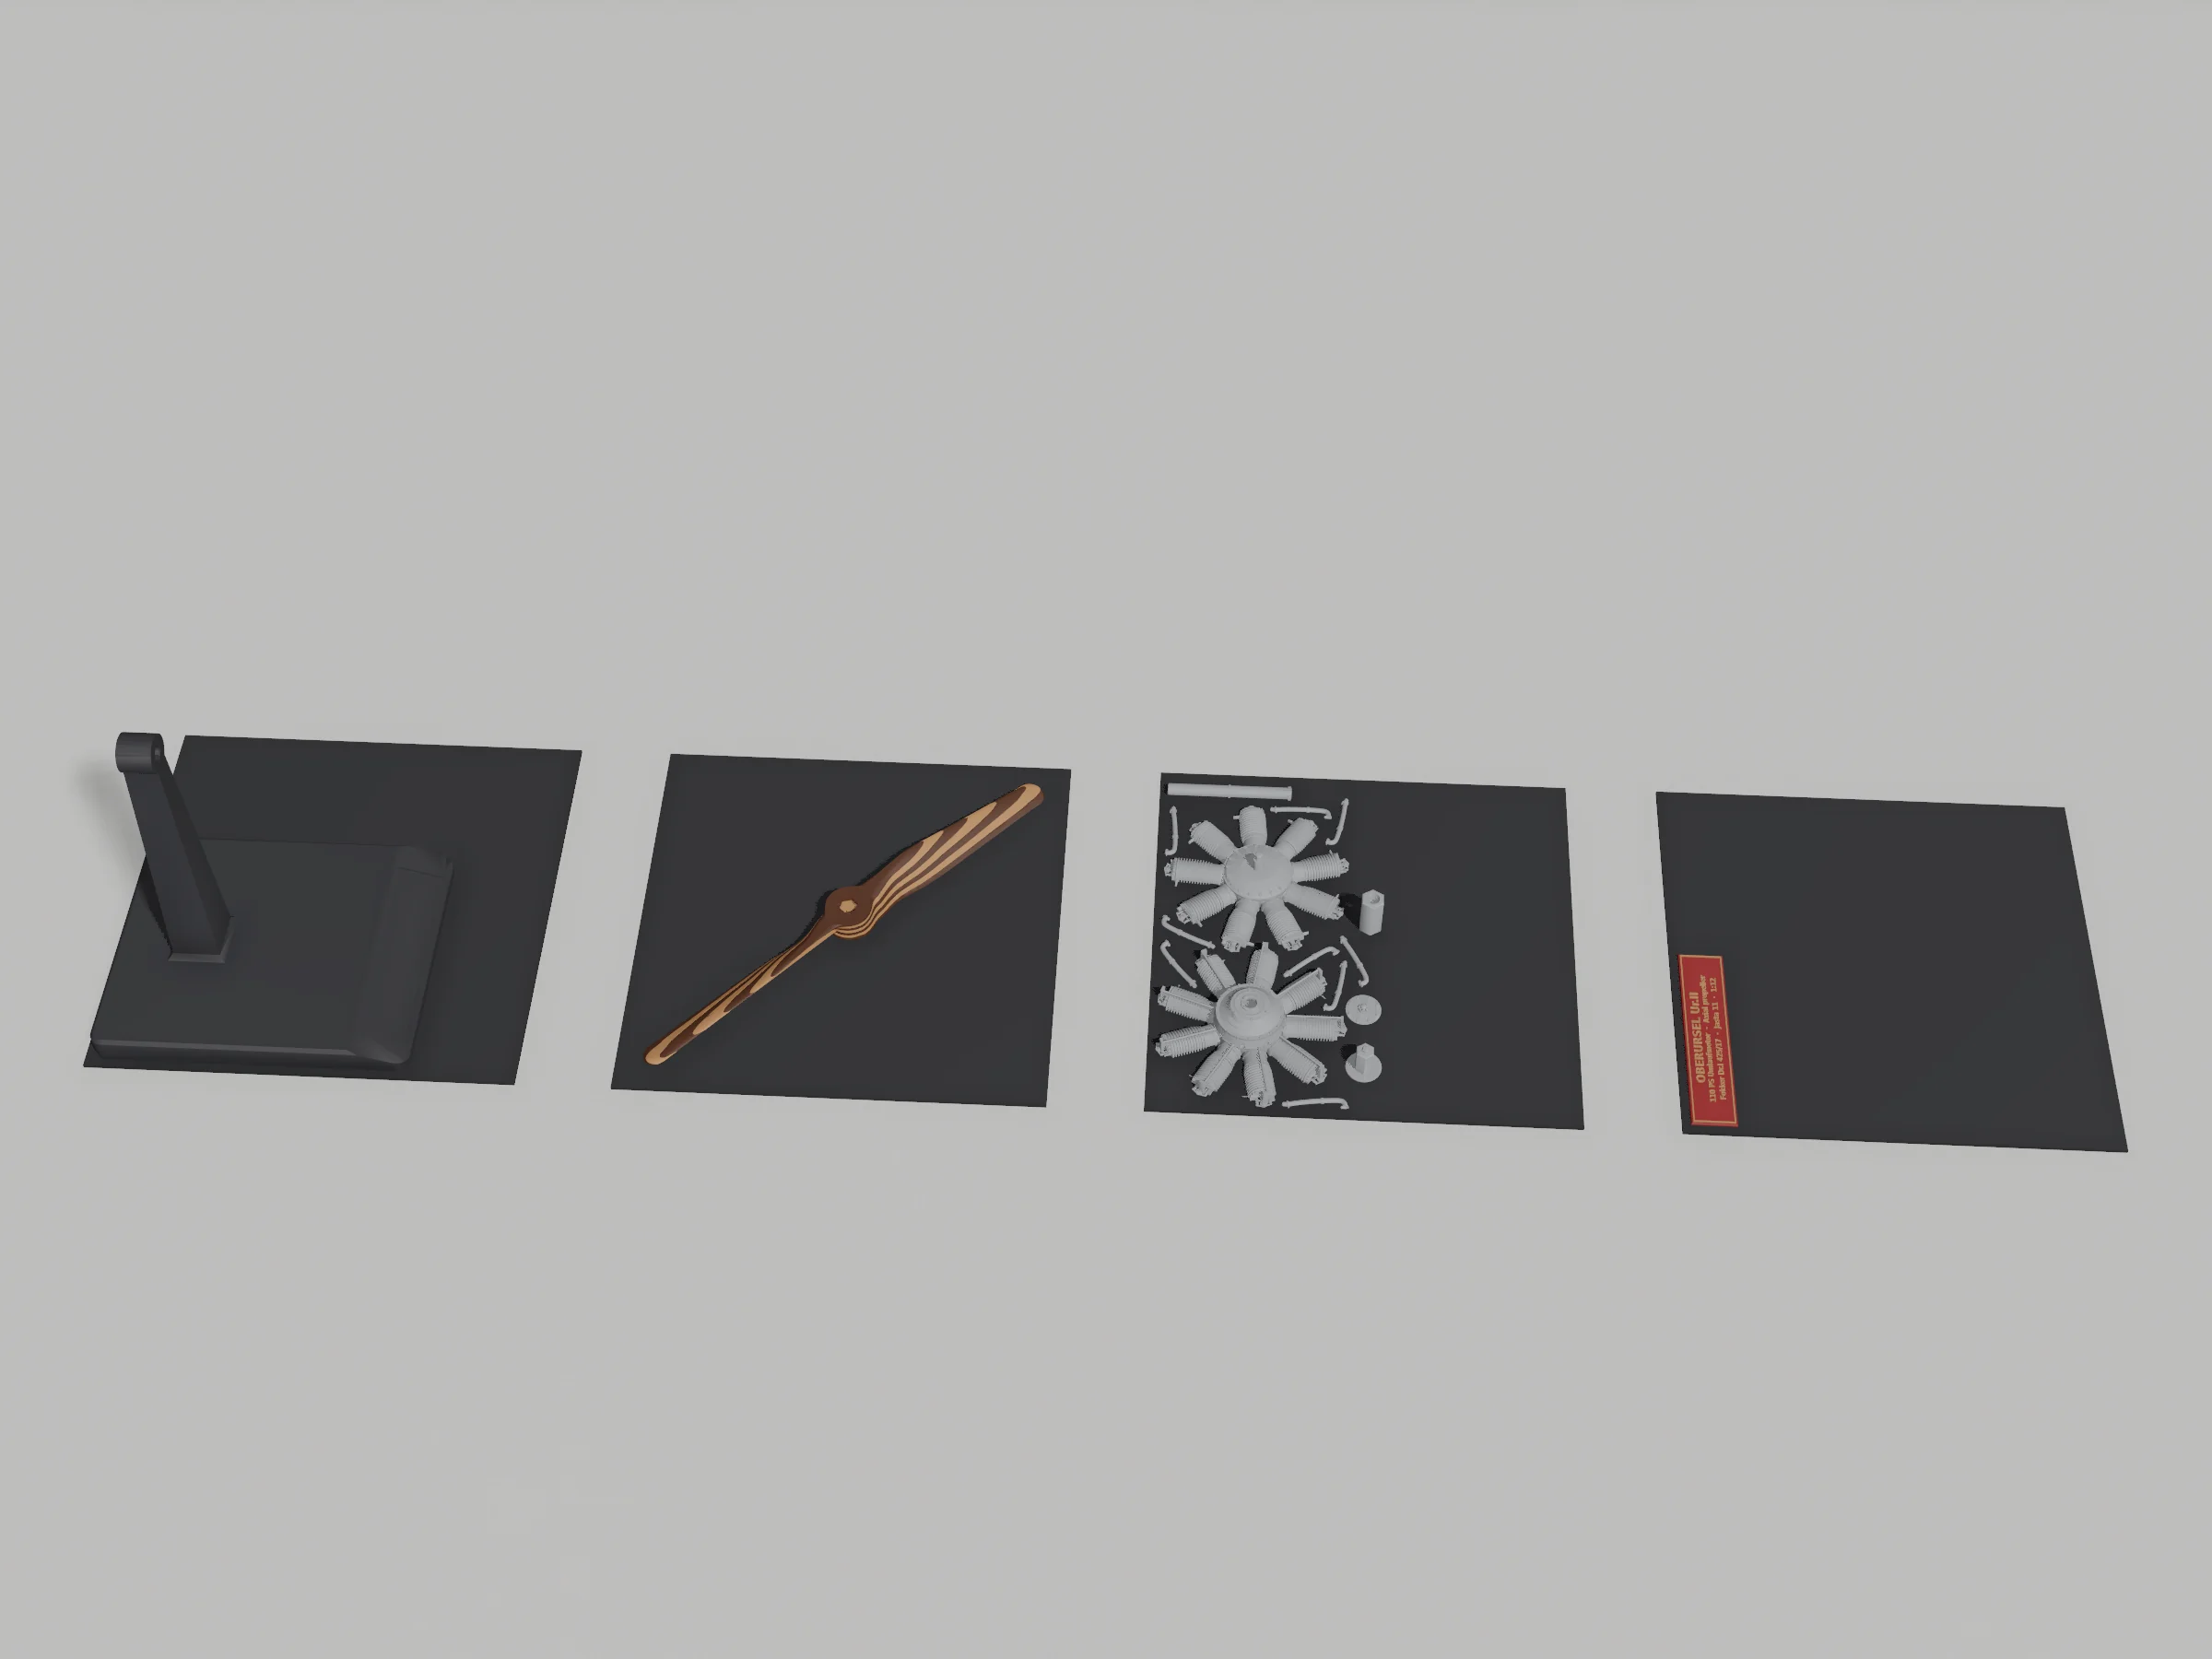
Rendered from the kit’s own print meshes in the five matte colours: the MUSEUM version from every side, the hub, the plaque and the four printer plates.

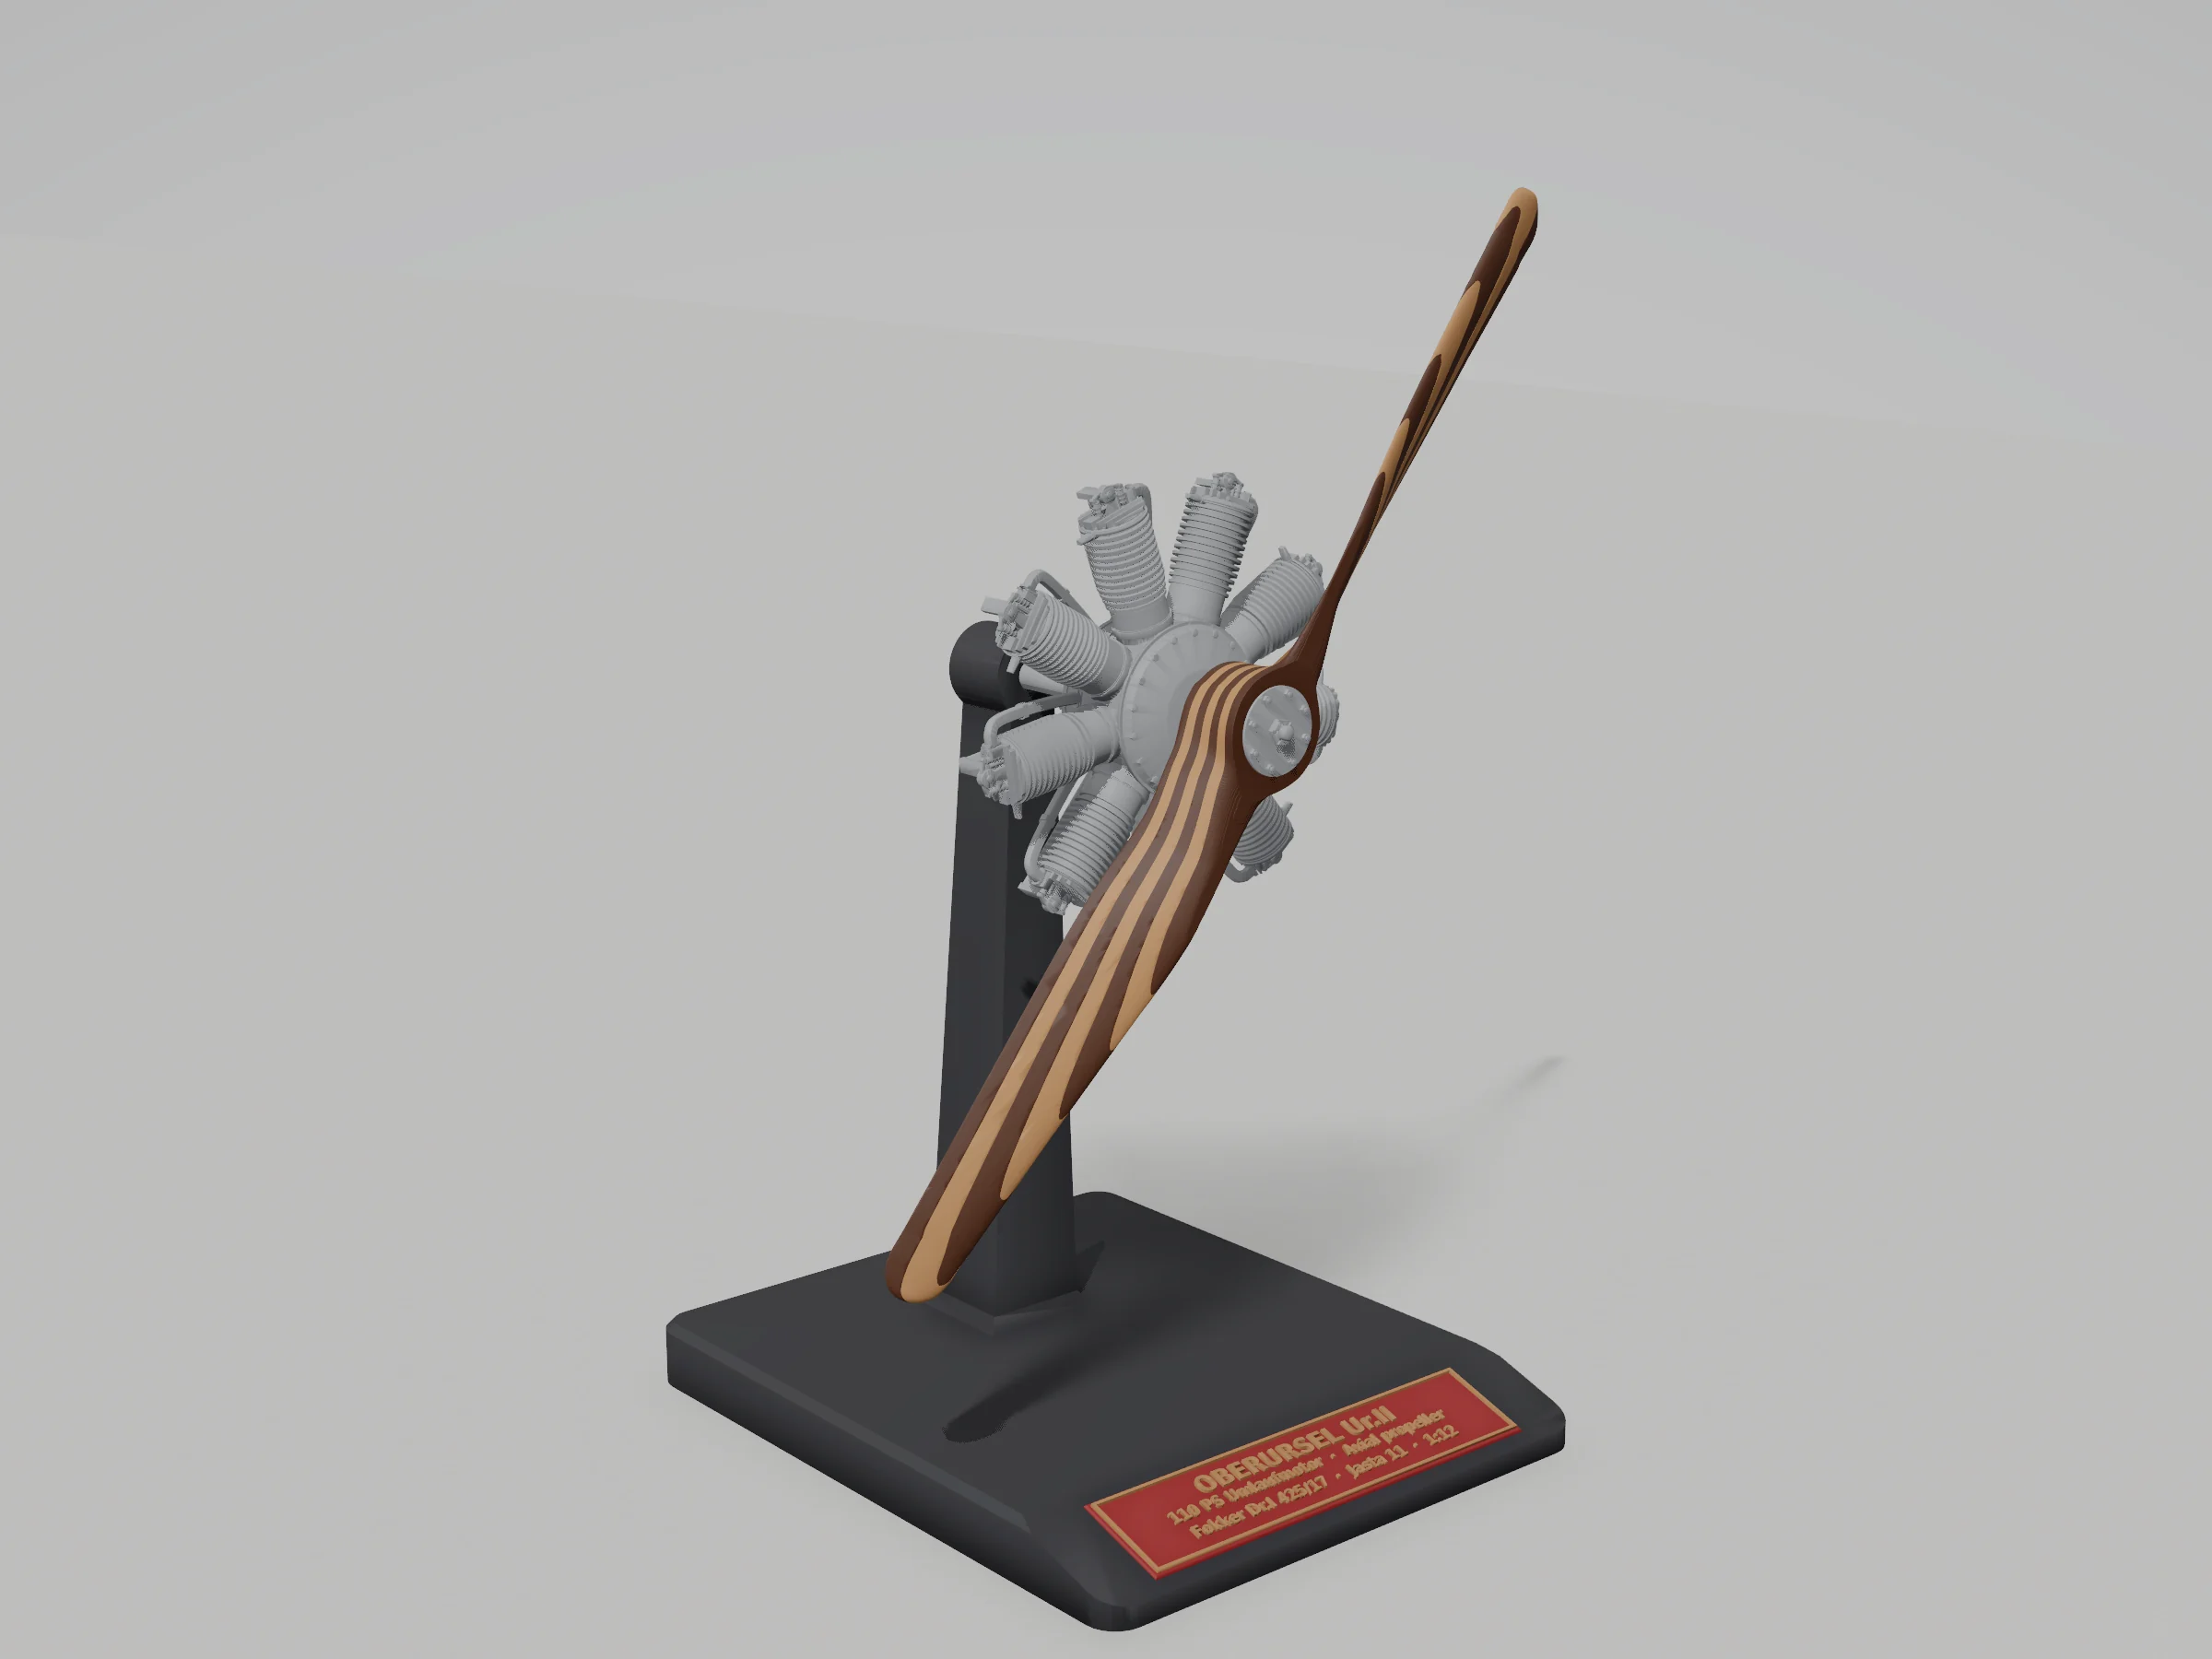
Oberursel Ur.II and Axial propeller 1:12 on its stand, front three-quarter view — renderCAD RENDER
Oberursel Ur.II and Axial propeller 1:12 on its stand, front three-quarter view — render
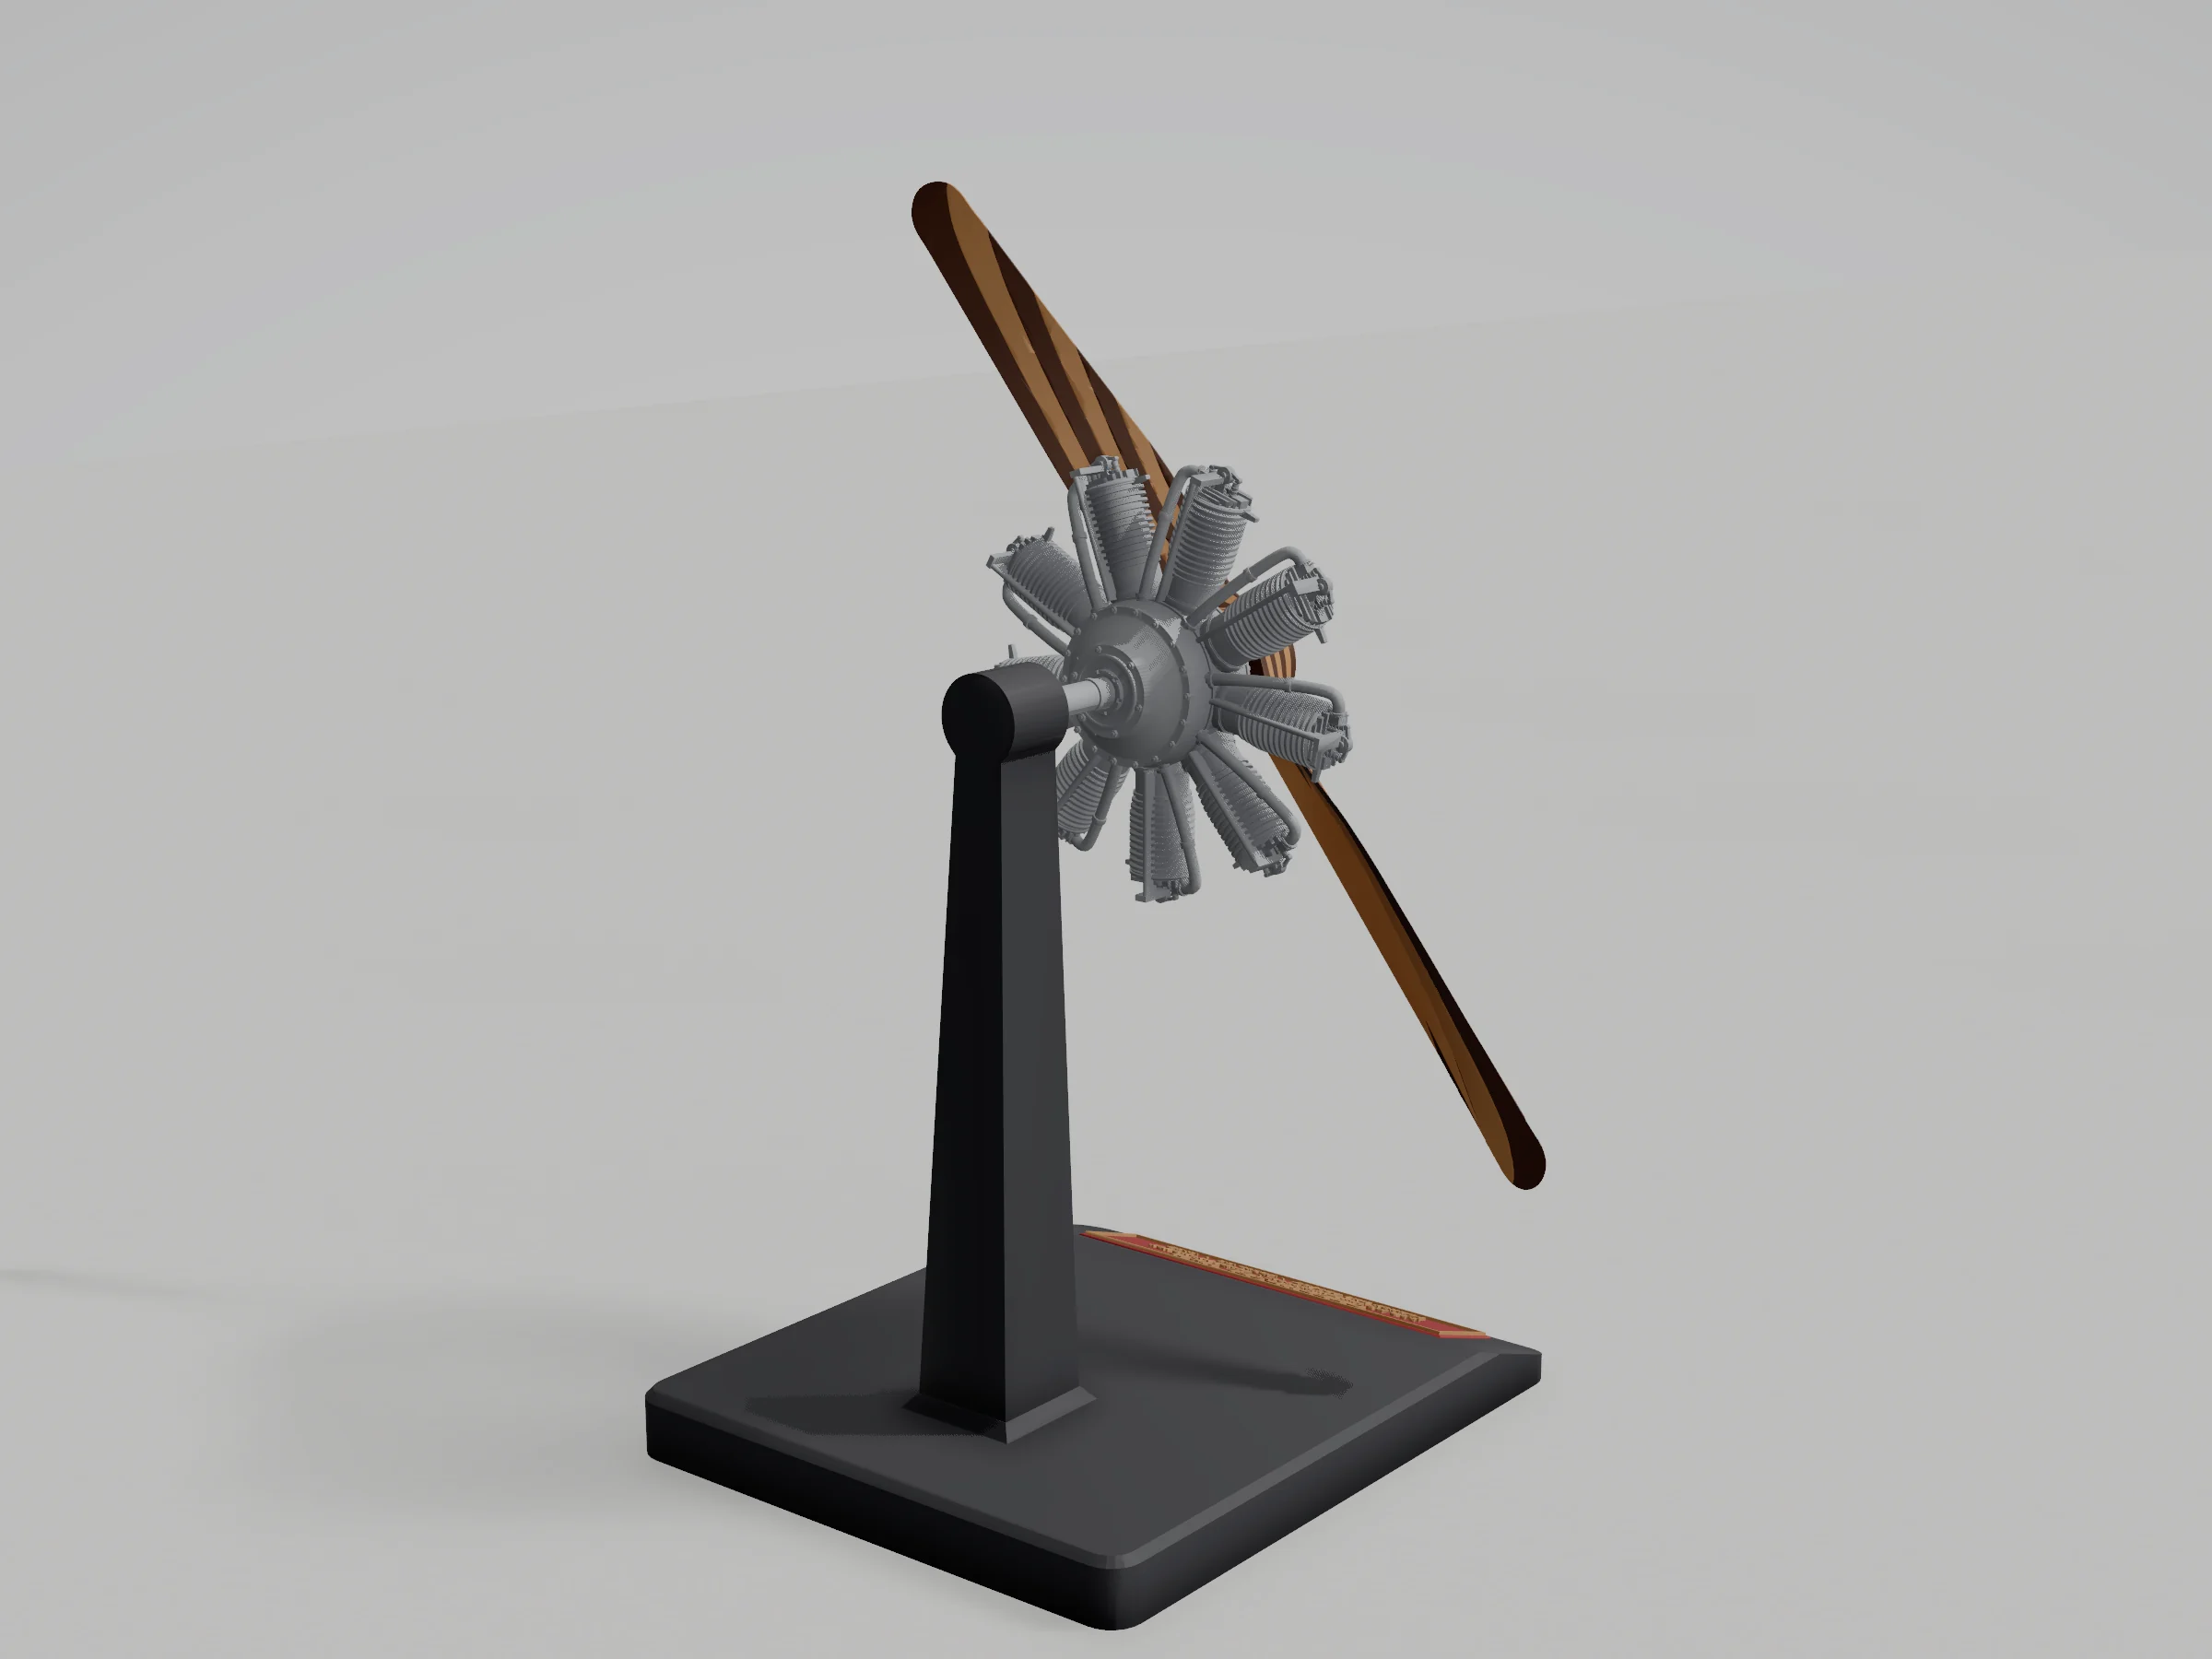
The 1:12 engine from behind: stand head, shaft and the finished rear of the crankcase — renderCAD RENDER
The 1:12 engine from behind: stand head, shaft and the finished rear of the crankcase — render
Close-up of the engine rear: 18-bolt rim, maker’s plate, cam box cover, bearing nut and pushrods — renderCAD RENDER
Close-up of the engine rear: 18-bolt rim, maker’s plate, cam box cover, bearing nut and pushrods — render
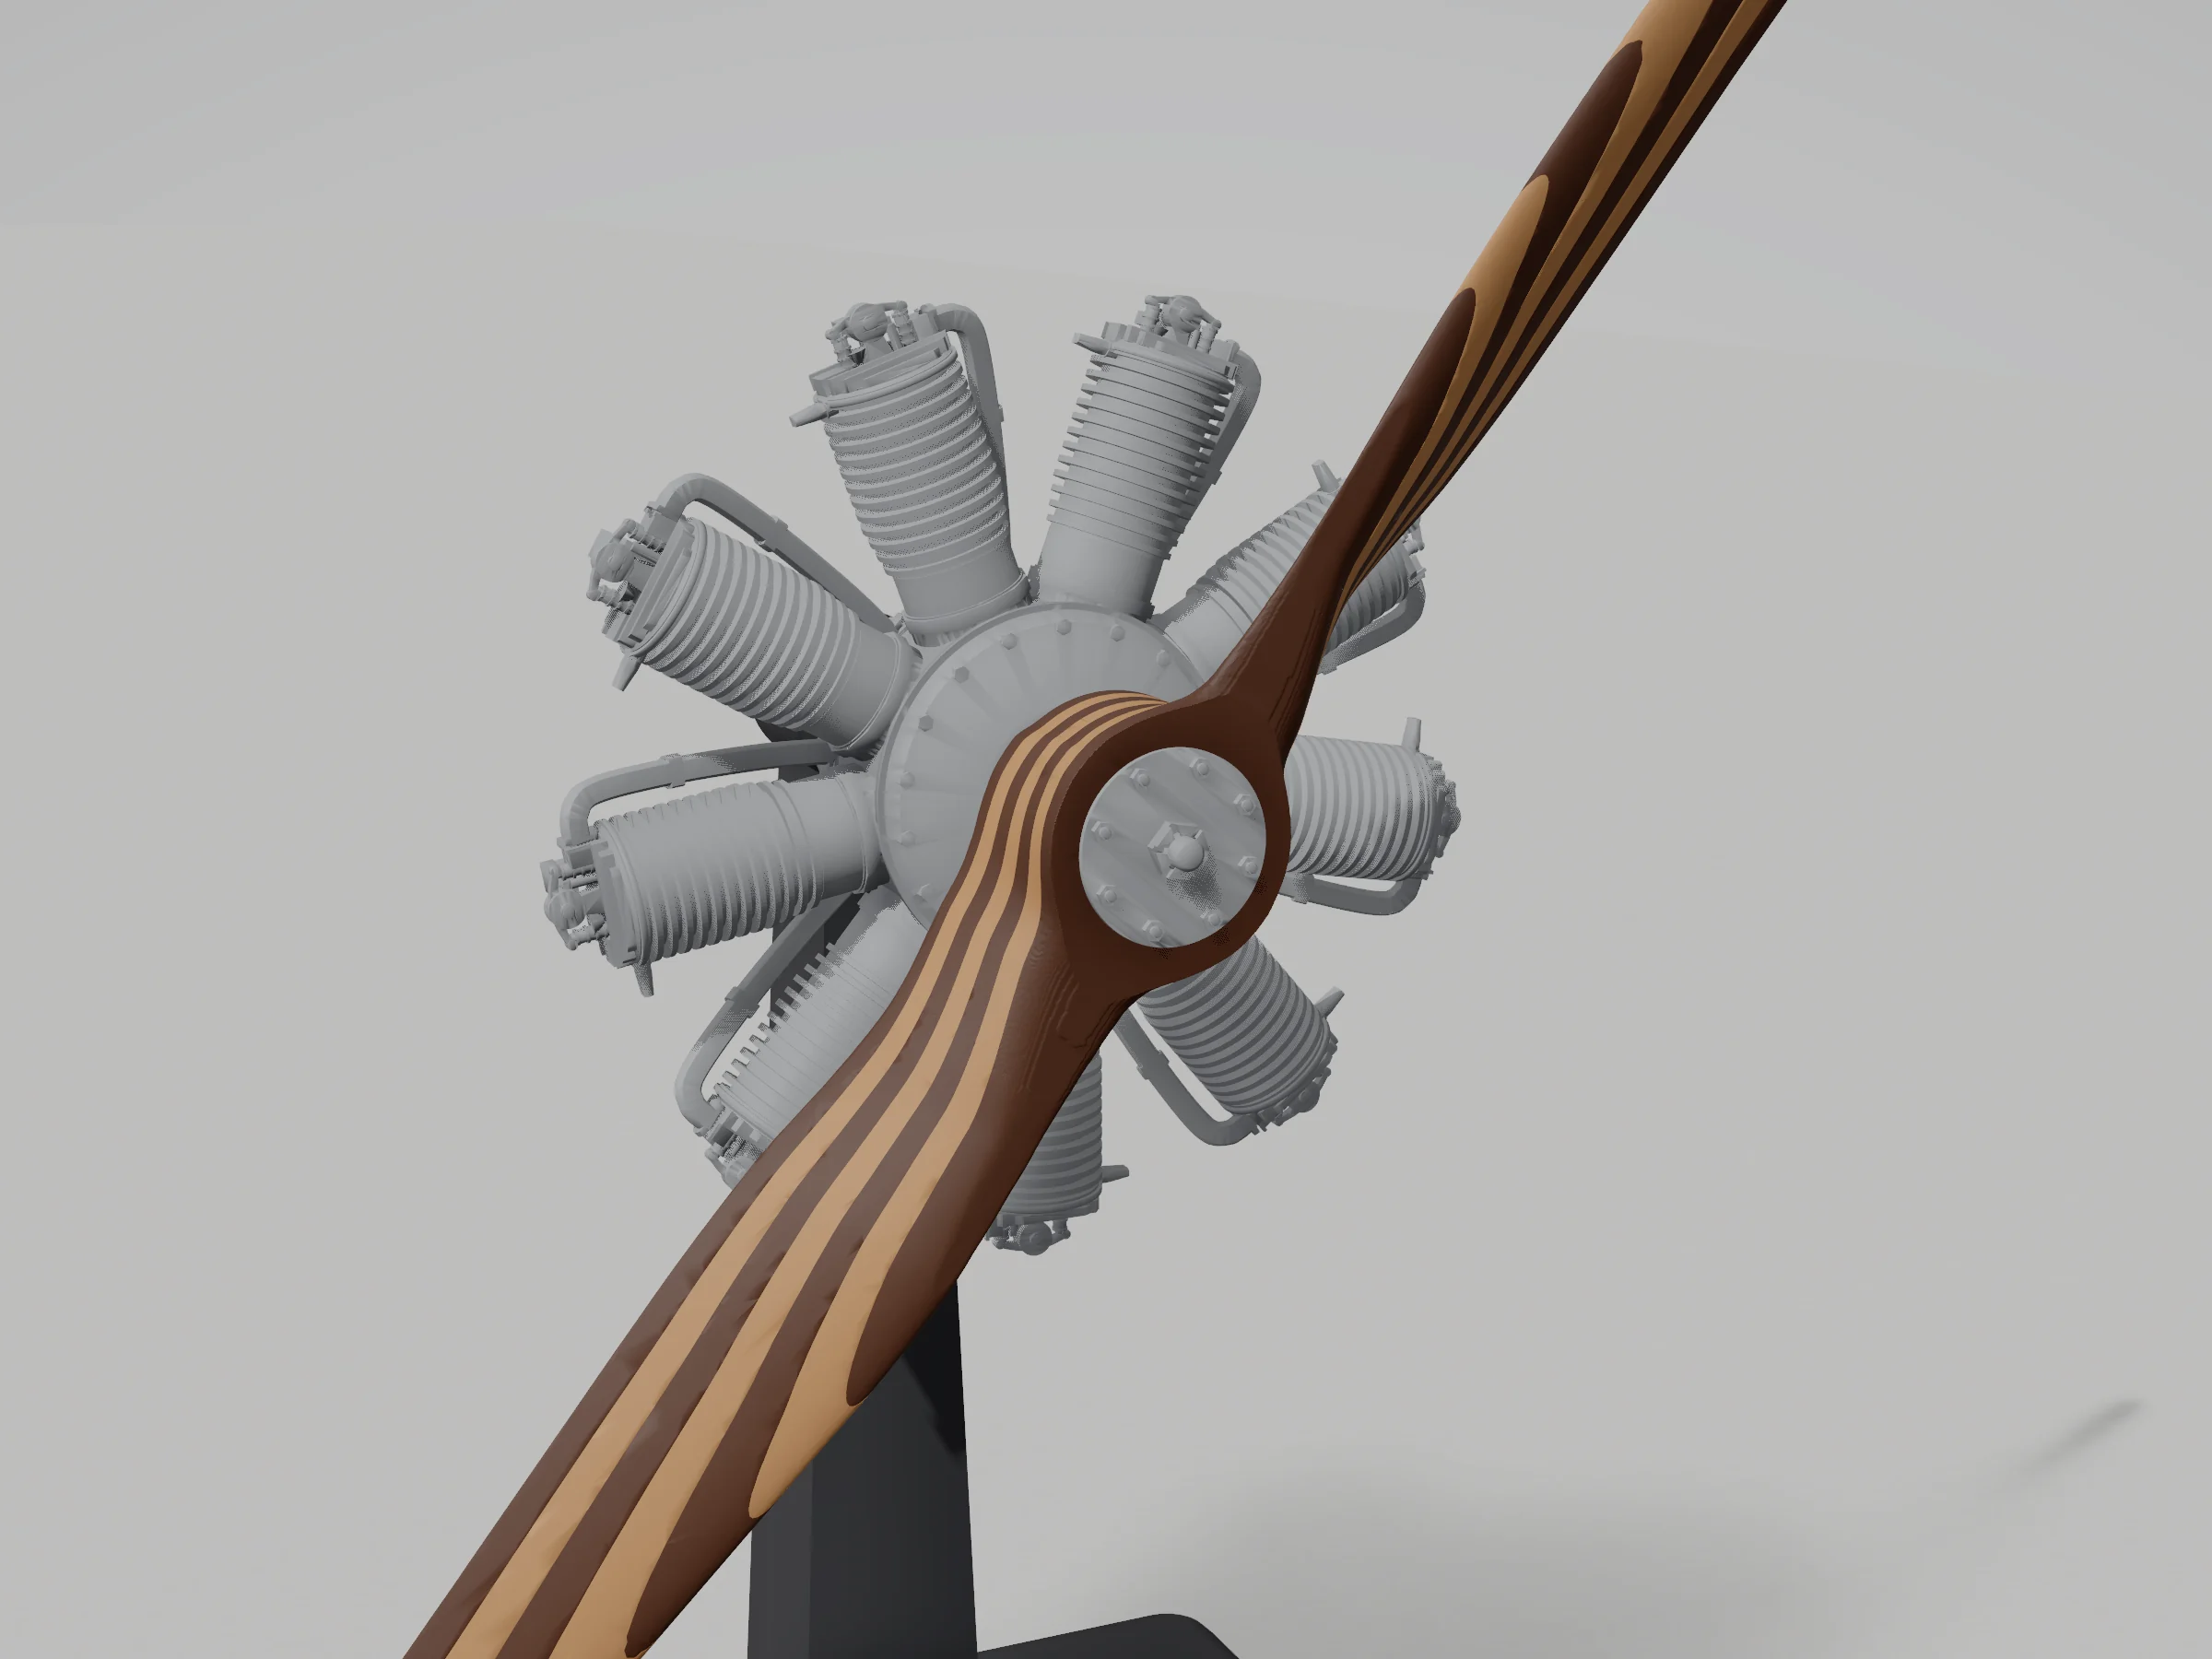
Close-up of the two-flange hub clamping the laminated propeller in front of the cylinders — renderCAD RENDER
Close-up of the two-flange hub clamping the laminated propeller in front of the cylinders — render
The 1:12 engine and propeller straight from the front — renderCAD RENDER
The 1:12 engine and propeller straight from the front — render
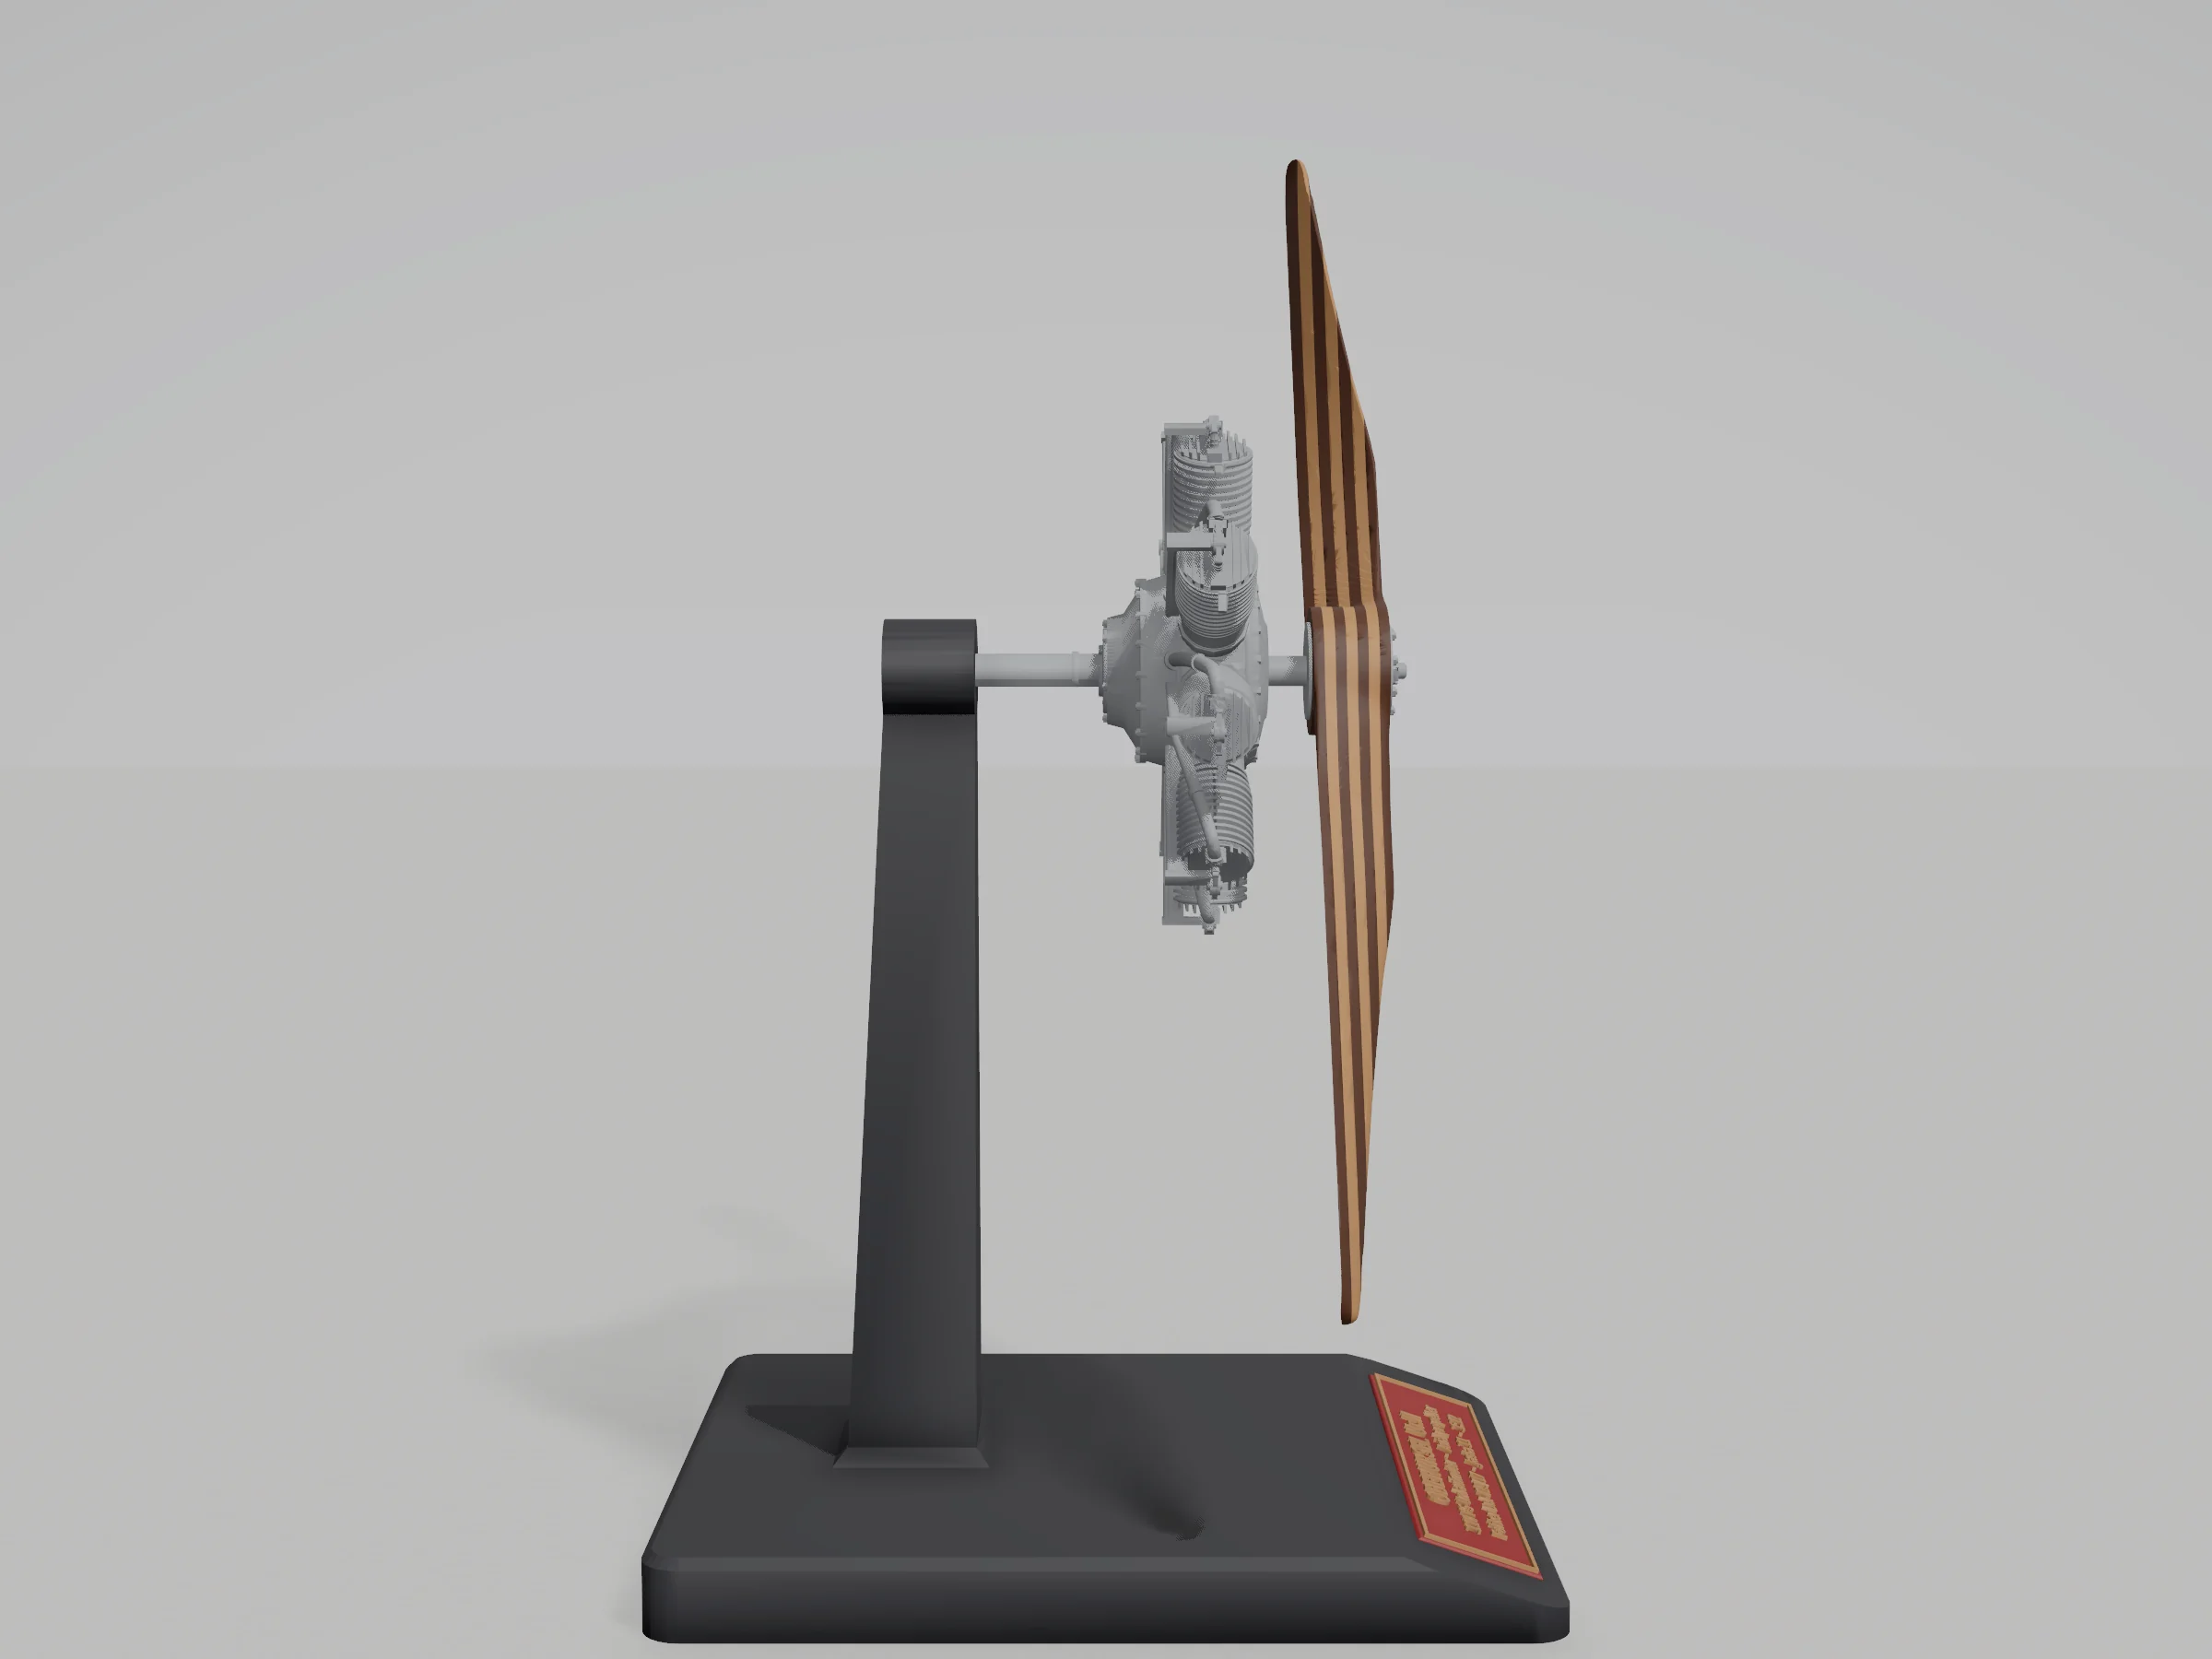
Side view: stand, fixed shaft, engine and propeller disc — renderCAD RENDER
Side view: stand, fixed shaft, engine and propeller disc — render
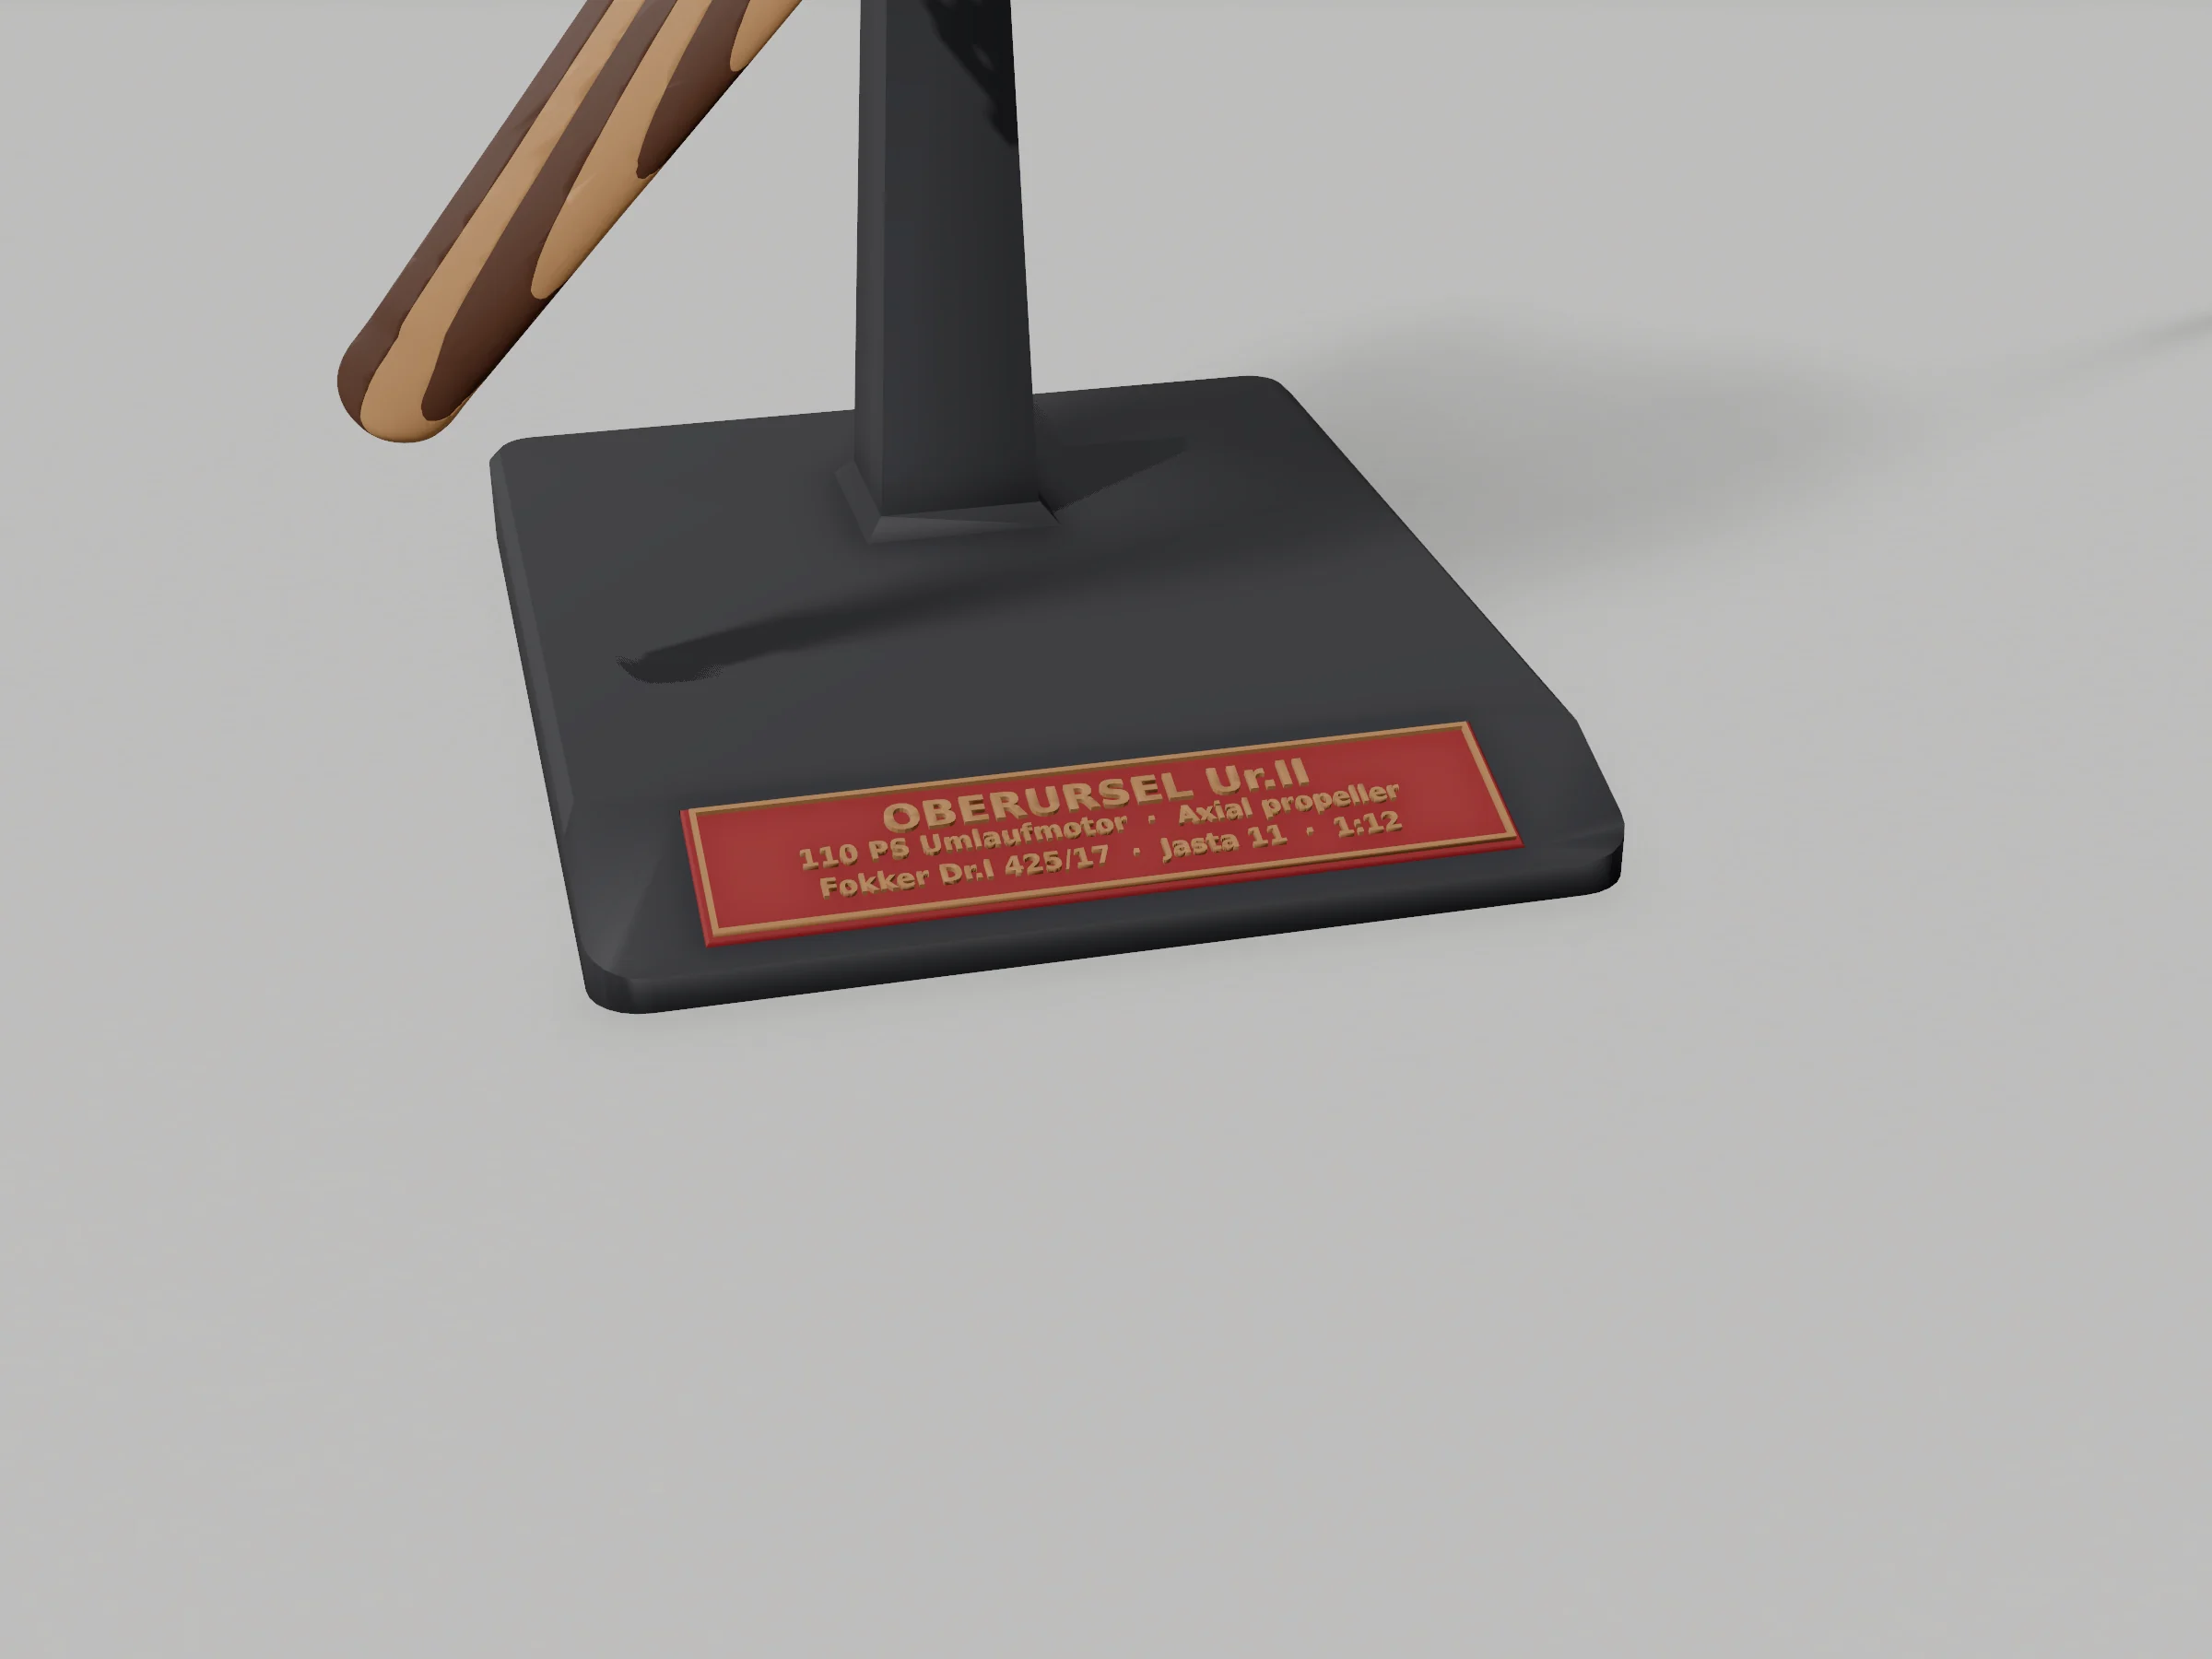
The museum plaque on the slope of the stand: Oberursel Ur.II, 110 PS, Fokker Dr.I 425/17, Jasta 11, 1:12 — renderCAD RENDER
The museum plaque on the slope of the stand: Oberursel Ur.II, 110 PS, Fokker Dr.I 425/17, Jasta 11, 1:12 — render
All parts on the four printer plates: stand, propeller, engine and plaque — renderCAD RENDER
All parts on the four printer plates: stand, propeller, engine and plaque — render
A ROTARY ON A STAND

The crankshaft stands still, the engine turns.

The engine is the Oberursel Ur.II of the 1:16 Fokker Dr.I model, rebuilt for 1:12 as a display piece: two halves joined on a hex key tube, nine separate intake pipes, a two-flange hub that clamps the laminated Axial propeller.

Like the real rotary, the crankshaft is fixed — here it is a D-shaft pushed into the stand head. The engine and propeller slide onto it until a snap barb clicks behind the key tube; after that they turn freely with 0.16 mm clearance per side.

Every joint is a press fit tuned on test prints of this model and of the free 1:24 wall model: hex keys and D-shafts let each part go in one way only, long joints grip only over their last 3 mm, and every peg has a lead-in chamfer.
  • DocumentedOberursel Ur.II rotary: 9 cylinders, fixed crankshaft, engine turning with the propeller
  • ReconstructedEngine rear (rim bolts, maker’s plate, cam box cover) as on a surviving Ur.II on a museum stand
  • ReconstructedFLIGHT hanging disc, magneto, oil pump and carburettor
  • Print adaptationLaminated propeller look in two filament colours, stand and plaque
TWO VERSIONS

Museum stand or flight configuration

MUSEUM · 18 PARTS

The back as on a museum stand

The whole rear cover of the crankcase is open to view: the rim with 18 bolts, the maker’s plate, the cam box cover with 6 bolts, the bearing ring nut and the pushrods — turn the stand round and it still reads as the engine. This is the version in the photographs and renders.

FLIGHT · 20 PARTS

As it sat in the aircraft

Adds the hanging disc with the magneto and oil pump in front of the stand head and the carburettor on the end of the shaft behind it. The disc, magneto, pump and carburettor are approximations: the disc and carburettor positions follow the factory drawing, the magneto and pump shapes follow the Le Rhône 9J layout.

Five matte colours, one AMS

The 3MF plates already have the slots assigned. The engine plate prints last: before it, swap the Charcoal spool in slot 2 for Ash Gray. Without an AMS every plate is one colour and the propeller prints in one brown.

  • 1 · Dark Red (11202) — plaque
  • 2 · Charcoal (11101) — stand
  • 2 · Ash Gray (11102), swapped in for the engine plate — engine, intake pipes, hub, shaft, key tube
  • 3 · Caramel (11803) — propeller laminations 2, 4, 6 and the plaque lettering
  • 4 · Dark Chocolate (11802) — propeller laminations 1, 3, 5, 7
PARTS

What is in the kit

Sixteen parts are the same in both versions; the stand and the shaft differ, and FLIGHT adds two. The propeller lies flat across the diagonal of a 180 mm bed.

PartColourVersionPrint size, mm
Stand with mast and headCharcoalboth (head differs)132 × 110 × 142
Museum plaque with raised letteringDark Red + Caramelboth19 × 86 × 2
Shaft (fixed crankshaft)Ash Grayboth (FLIGHT longer)55 × 6.3 × 5.4
Engine, rear halfAsh Grayboth80 × 81 × 17
Engine, front halfAsh Grayboth80 × 81 × 18
Hex key tubeAsh Grayboth9 × 10 × 20
Intake pipes × 9, all identicalAsh Graybothabout 27 × 7 × 2.3 each
Rear hub flange with sleeveAsh Grayboth15 × 15 × 14
Front hub flange with nuts and capAsh Grayboth15 × 15 × 3.2
Propeller, 7 laminations in one partDark Chocolate + Caramelboth218 × 21 × 12
Hanging disc with magneto and oil pumpAsh GrayFLIGHT—
CarburettorAsh GrayFLIGHT—
ASSEMBLY

Nine steps, no glue.

MUSEUM version. FLIGHT adds the carburettor behind the stand head and the hanging disc in front of it. The illustrated guide comes with the files.

  1. Plaque into the pocket on the slope of the stand, lettering towards you; press until the ribs click.
  2. Shaft, flat side down, into the stand head up to the stop.
  3. Hex key tube into the rear engine half from the split side.
  4. Front engine half onto the key tube — the cylinders line up in one position only.
  5. Nine intake pipes: bring each one in from behind the engine, then press the last 2–3 mm towards the axis — root pin into the crankcase, end pin into the intake housing.
  6. Rear hub flange onto the hex nose of the front half.
  7. Propeller onto the hub sleeve.
  8. Front hub flange onto the hex pin — the propeller is clamped.
  9. Engine onto the shaft until the snap barb clicks. Give it a push and it spins.

If a part is too tight or too loose

  • Too tight: turn on Elephant foot compensation 0.15 mm and reprint the part. Do not force small parts — PLA pins can snap.
  • A pipe falls out: take it out and press it back turned slightly around its pin, so the ribs bite in a new place.
  • The engine does not spin freely: the barb is not fully home — push the engine along the shaft until it clicks.
  • Print settings: nozzle 0.4 mm, layer 0.2 mm, 3 walls, 15 % infill; the propeller keeps the tree supports set in its 3MF.

Get the files

Free · STL files, ready Bambu Studio plates and the illustrated assembly guide for both versions are on Bibizoza’s MakerWorld page.

Get it free on MakerWorld

Continue through the collection